


Easy Spiderweb Brownies
Halloween is coming up and for me it brings back wonderful childhood memories from growing up in Japan. My family lived in an area with a lot of American expats, and they went all in for Halloween! Going door to door trick-or-treating and being scared out of my wits by creepy costumes was the highlight of fall and something that I’ve always looked forward to doing with my own kids. I still love celebrating Halloween and our girls are finally old enough to really enjoy it too!
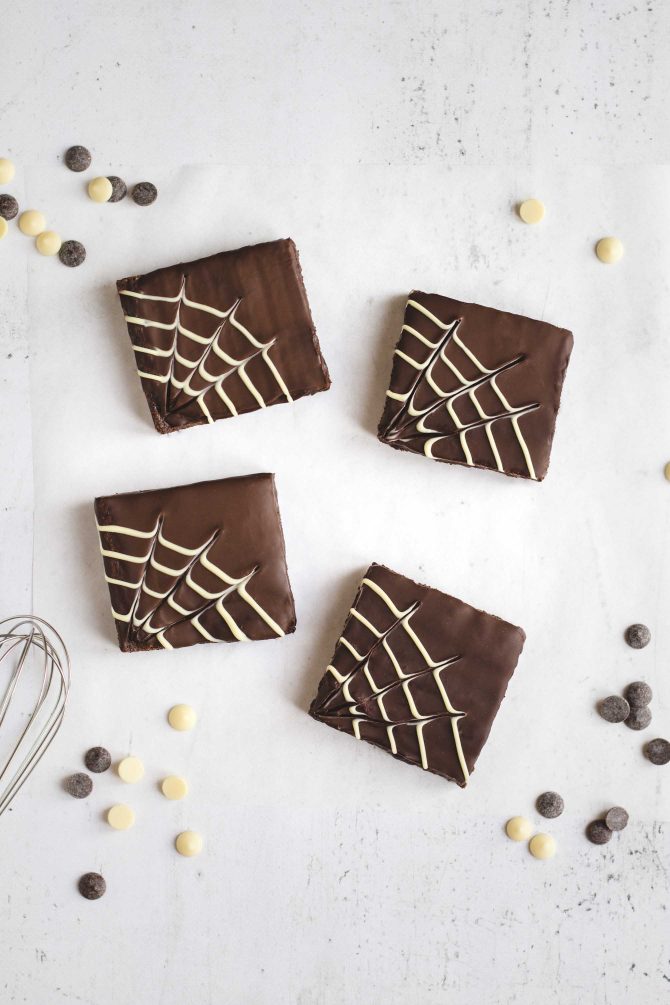
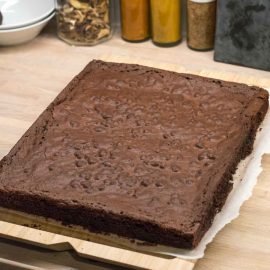
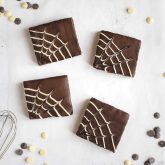
These spiderweb brownies are perfect if you’re looking to make a Halloween dessert that looks a little fancy without requiring hours of decorating. They’re made with my favorite brownie recipe, topped with dark chocolate ganache, and finished with a simple white chocolate spiderweb.
I cut my brownies into large squares, but you can make them smaller or cut them into rectangles or triangles. The spiderweb design works on all kinds of shapes, so you can easily adapt them.
Why You’ll Love These Spiderweb Brownies
- Rich and fudgy: These brownies are made with my favorite brownie recipe as a delicious chocolate base.
- Easy to decorate: The spiderweb design only requires melted white chocolate and a toothpick.
- Perfect for Halloween: They look festive without needing any special decorating tools.
- Easy to share: Cut them into large squares for a dessert plate or smaller pieces for a Halloween treat.
How to Make the Chocolate Spiderweb Design
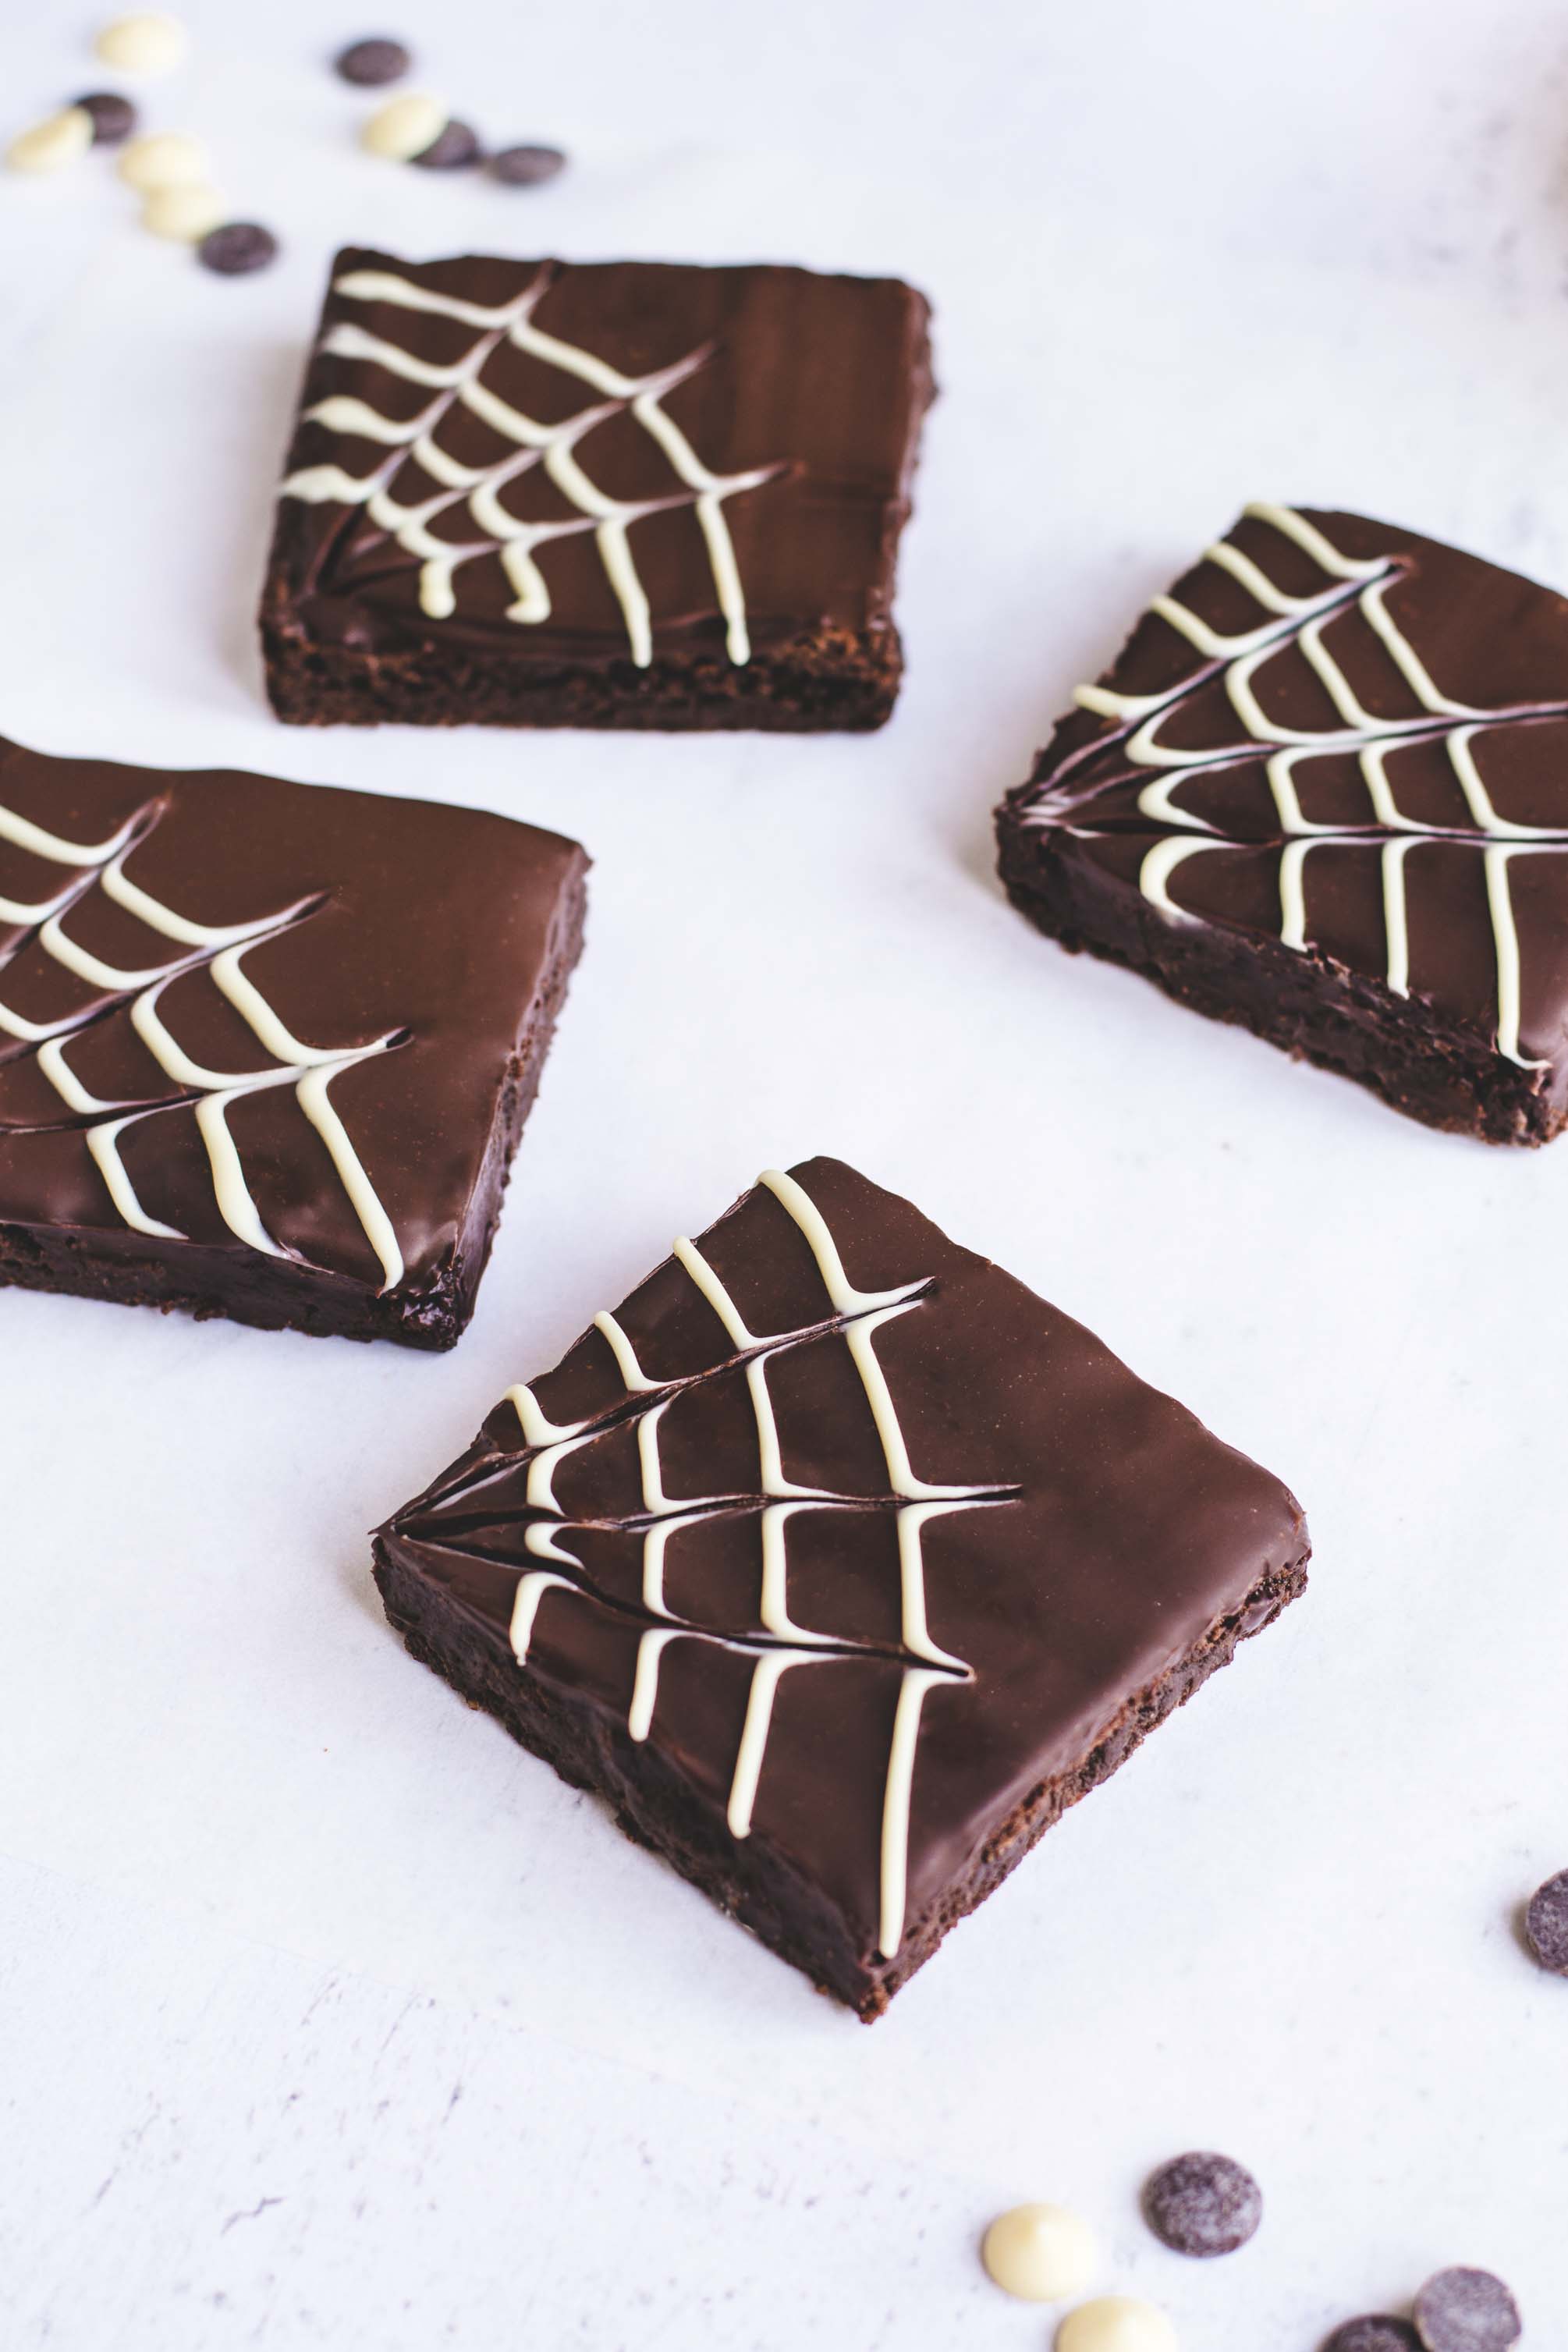
The spiderweb on these Halloween brownies is made by piping white chocolate stripes over a layer of dark chocolate ganache and dragging a toothpick through them. It’s a simple technique where timing matters. Here’s how to do it:
1. Spread ganache over the brownie and smooth it into an even layer with an offset spatula. Pipe four curved stripes of white chocolate across the surface, then immediately drag a toothpick through the stripes from one corner toward the center. Repeat to create the web effect. It’s important to do it immediately, because if the ganache starts to set, the toothpick won’t create those clean lines.
Tips for Beautiful Spiderweb Brownies
The brownies and spiderweb technique are quite basic, but here are some tips to make sure you get a beautiful result:
Let the brownies cool completely. This is essential before adding the ganache. If the brownies are still warm, the ganache will become too runny, and the white chocolate pattern may melt.
Make the ganache completely smooth. Pour hot cream over the chopped chocolate and let it sit for a minute before stirring. This gives the chocolate time to melt gently. Stir until the ganache is completely smooth before spreading it over the brownies.
Work one brownie at a time. Spread the ganache over one brownie, pipe the white chocolate stripes, and make the spiderweb pattern before moving on to the next. This gives you the best chance of creating a clear design before the ganache sets.
Pipe with a steady hand. Cut a small opening in your piping bag. Pipe the white chocolate stripes in one confident and smooth motion rather than stopping and starting. Your lines don’t need to be perfectly straight, the toothpick will pull them into the web pattern.
Use a toothpick for the web. Drag it through the stripes from the outside toward the center and wipe it clean between lines for the best finish.
Make-Ahead Spiderweb Brownies
These easy spiderweb brownies can be made ahead of time, which is great if you’re prepping for a Halloween party or social event.
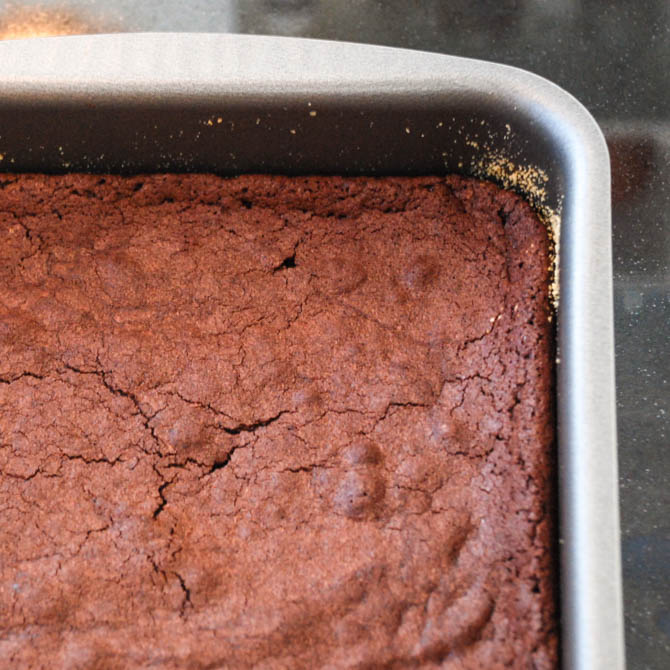
The brownies can be baked the day before and will stay just as delicious next day if stored wrapped in plastic wrap on the counter.
The ganache and white chocolate spiderweb design can be prepared early in the day on the day of serving. Once decorated, allow the ganache to set before stacking or transporting the brownies. If you’re in a hurry, you can place them in the refrigerator briefly to help the chocolate firm up.
Frequently Asked Questions
Can I use a different brownie recipe or boxed brownies?
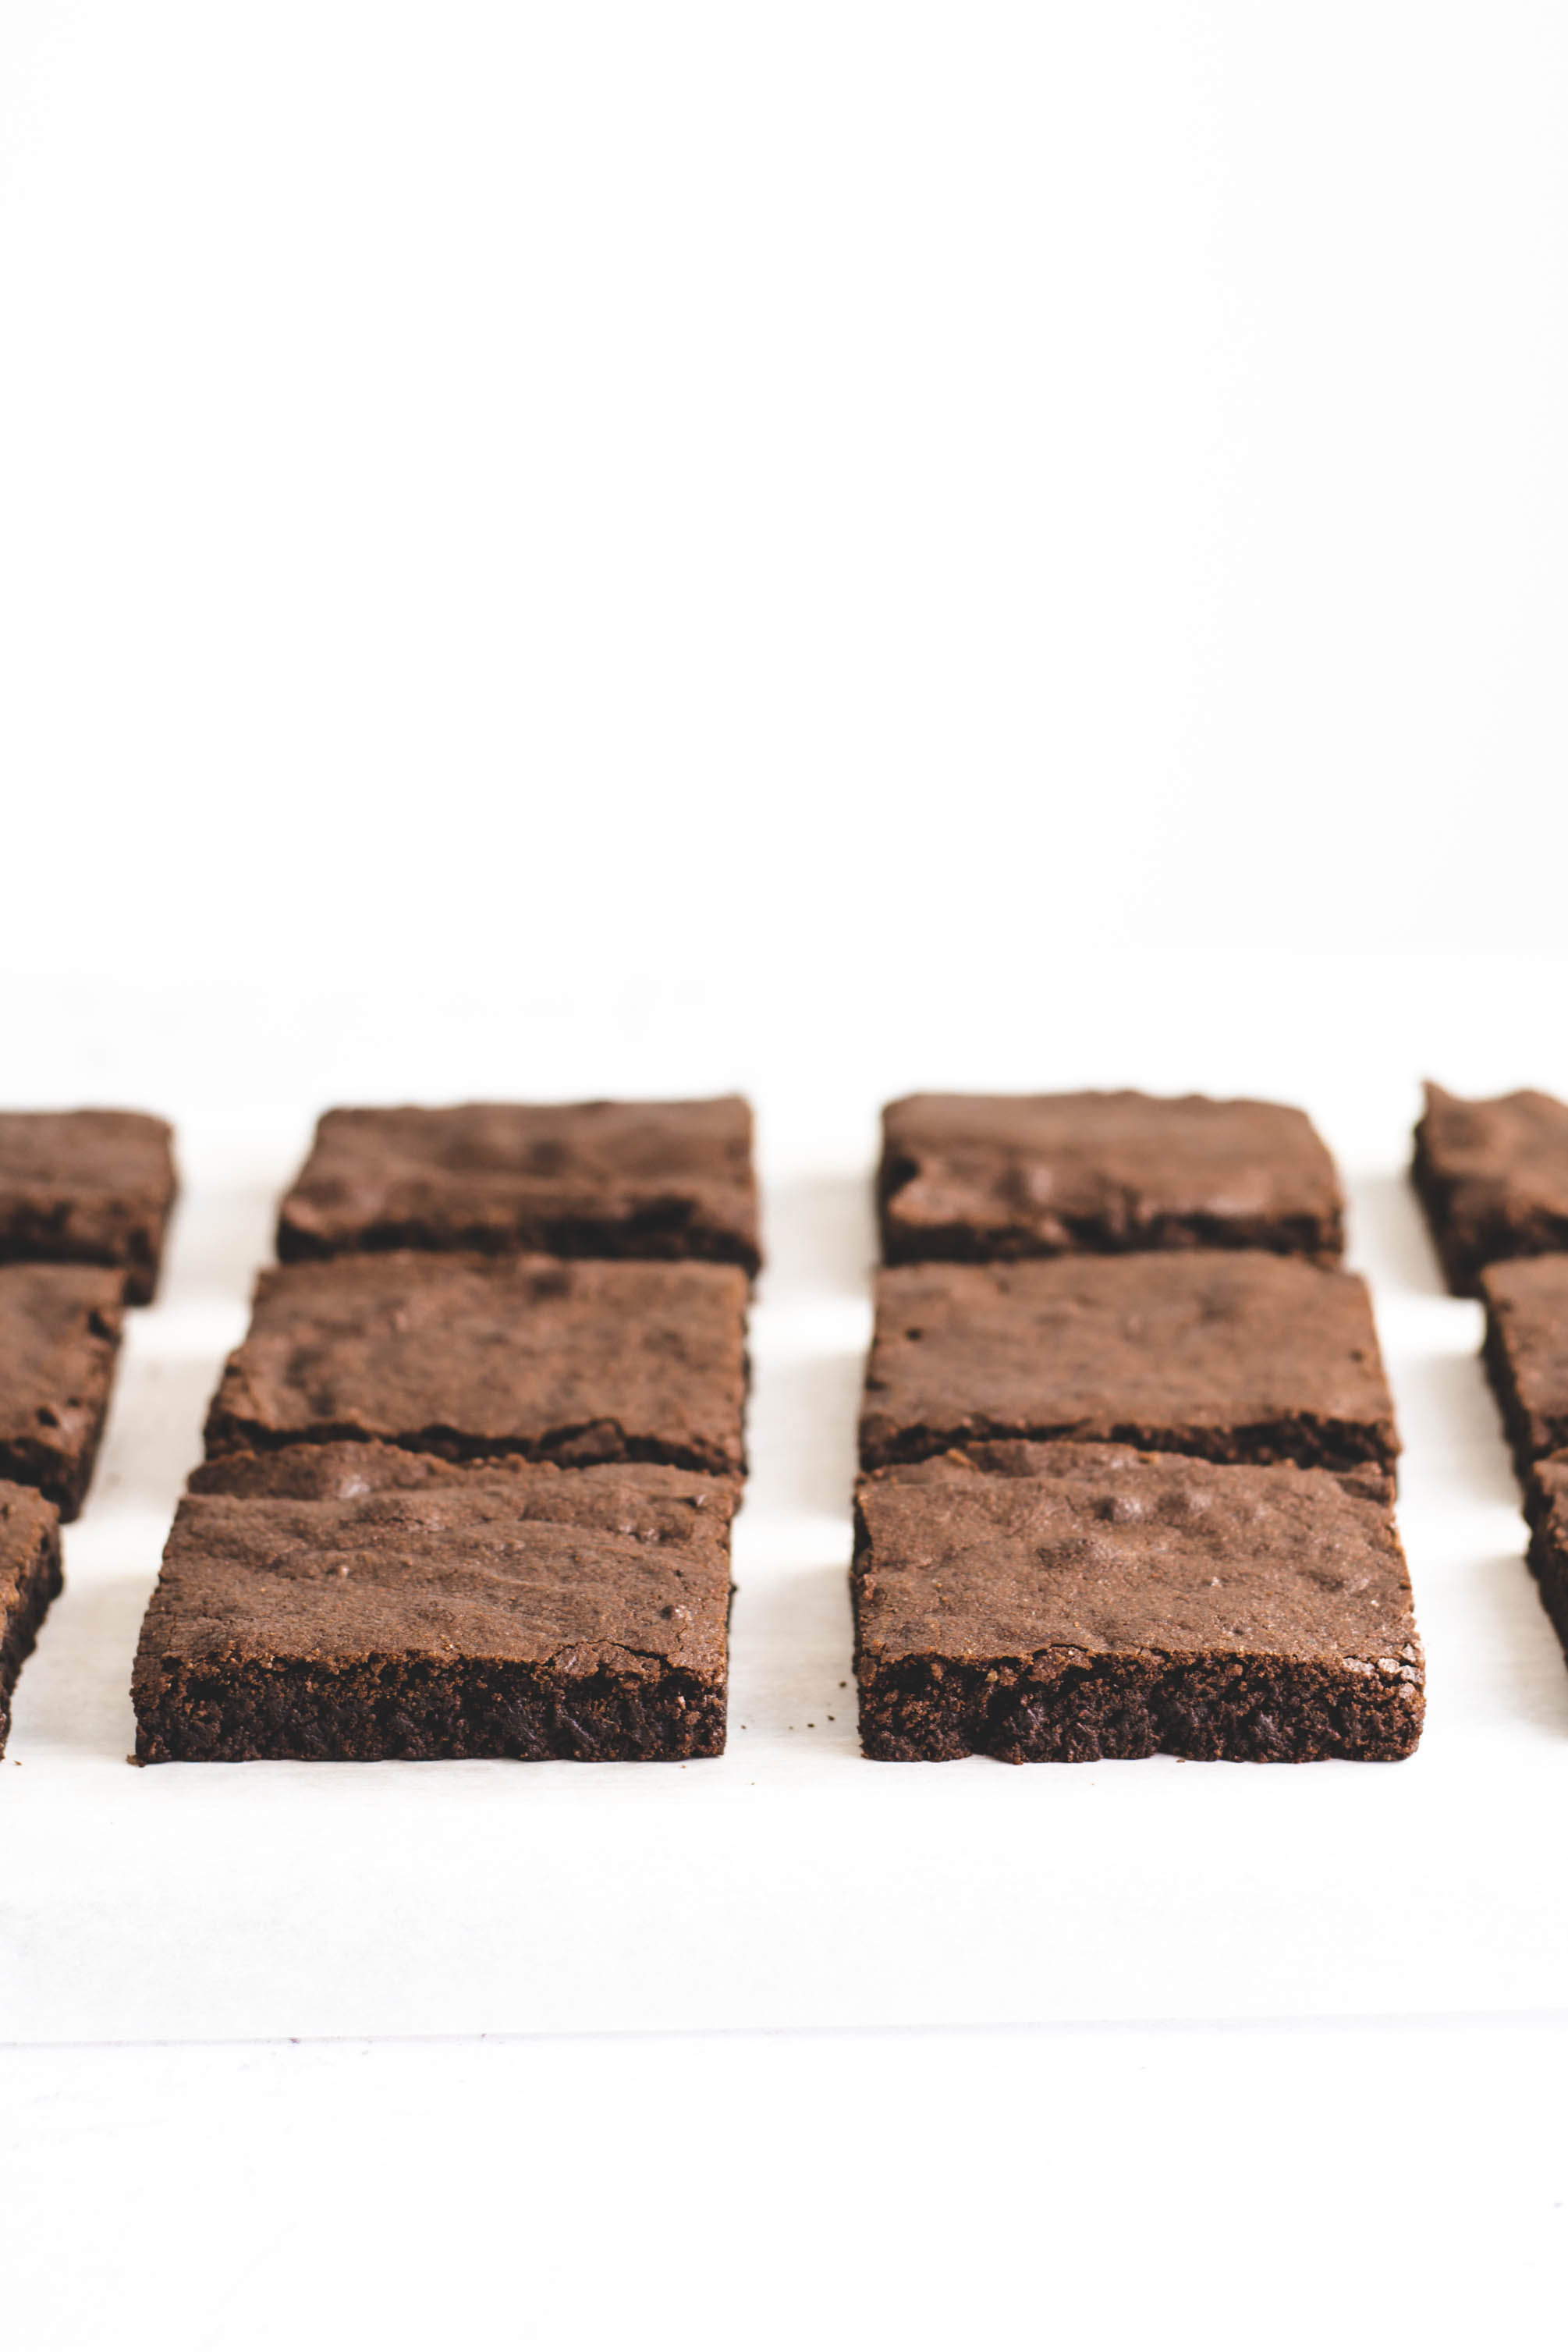
Yes, as long as you use a brownie recipe that is firm enough to cut into bars. I use my favorite brownie recipe for these.Why isn’t my ganache smooth?
Make sure the cream is hot enough to melt the chocolate, but don’t let it come to a full boil. Pour it over the finely chopped chocolate, let it sit for one minute, and then stir gently until smooth. If pieces of chocolate remain unmelted, continue stirring gently to help them melt.What should I do if my ganache is too runny?
Let the ganache cool for a little while before spreading it over the brownies. It will thicken as it cools. If it’s very warm, it may be too fluid to hold the spiderweb pattern, so give it time to reach a spreadable consistency.Why does my spiderweb pattern look messy?
The most important thing is to work while the ganache is still soft. If it starts to set, the toothpick won’t pull the white chocolate through it cleanly. Pipe the stripes with a steady hand and make the toothpick strokes in one smooth motion. Don’t worry if the lines aren’t perfectly even, a slightly irregular web still looks great on Halloween brownies.Can I use milk chocolate instead of dark chocolate for the ganache?
The recipe uses dark chocolate, which gives the brownies a rich chocolate topping and a nice contrast with the white chocolate web. Milk chocolate is sweeter and has a different composition, so the ganache may have a different consistency. I recommend sticking with dark chocolate.Can I use chocolate melts for the spiderweb?
Yes, you can use chocolate melts for the spiderweb if you prefer a convenient option that’s easy to melt and pipe. However, candy melts are a confectionery coating rather than real chocolate and they taste sweeter. For the best flavor, I recommend using high-quality chocolate.Can I make these brownies without a piping bag?
Yes. You can use a small disposable piping bag or a small plastic food-storage bag with a tiny corner snipped off. Start with a very small opening, around 2–3 mm or 1/16 inch, so you can pipe thin lines.Can I cut the brownies into smaller pieces or other shapes?
Absolutely! You can cut them into smaller squares, rectangles, or triangles. Smaller pieces are especially handy for Halloween parties, where guests may want to sample several treats. Just make sure each piece has enough surface area for the spiderweb design.How should I store spiderweb brownies?
Store the brownies covered in a cool place, away from direct sunlight and heat, so the chocolate topping doesn’t become too soft. If your kitchen is warm, you may need to refrigerate them to help the chocolate set. Let chilled brownies sit at room temperature briefly before serving for the best texture.
More Brownies and Bars Recipes

Recipe
Spiderweb Brownies for Halloween
 Prep Time 30 minutes Cook Time 30 minutes Cool time 1 hour Time: 2 hours
 Difficulty: Beginner
 Yield: 16 bars*
Ingredients
Brownies:
- 2 batches of my brownie recipe
Dark Chocolate Ganache:
- 340 g good-quality dark chocolate
- 300 ml heavy cream
White Chocolate Spiderweb:
- 150 g good-quality white chocolate
Instructions
Brownies:
- Bake a double batch of my brownie recipe in a pan that's approximately 24 x 36 cm / 9 × 13-inches**.2 batches of my brownie recipe
- Let the brownies cool completely in the pan (important!). Then cut the brownies into even squares with a sharp knife.
Dark Chocolate Ganache:
- Roughly chop the dark chocolate and place it in a small bowl.340 g good-quality dark chocolate
- Heat the heavy cream over medium-high heat until just about to boil, don't let it come to a full boil. Pour the hot cream over the chocolate and let it sit for 1 minute. Stir with a spatula until the chocolate is fully melted and the ganache is smooth.300 ml heavy cream
White Chocolate:
- Roughly chop the white chocolate. Place 2/3 of the white chocolate in a bowl and melt it in the microwave in 10-second bursts, stirring in between, until fully melted.150 g good-quality white chocolate
- Add the remaining 1/3 of chocolate a little at a time, stirring until all the chocolate has melted.
- Transfer the white chocolate to a piping bag and snip a small 2-3 mm or 1/16 inch opening at the tip.
Spiderweb:
- Spread dark chocolate ganache onto one brownie, using an offset spatula to smooth it into an even, glossy layer.
- Immediately pipe four stripes of white chocolate from one side to the other (like a rainbow)***.
- Drag a toothpick from the corner of the brownie through the stripes, pulling a line toward the center in the opposite direction. This creates the spiderweb pattern. Repeat with the remaining brownies.
- Let the ganache and chocolate set before serving. You can pop it in the fridge to speed things along.
