
This year I’m starting the real Halloween vibes at home with these fun Halloween cookies! I’ve baked a batch of easy vanilla cookies and decorated them with royal icing in different colors. My little girls loved the result!
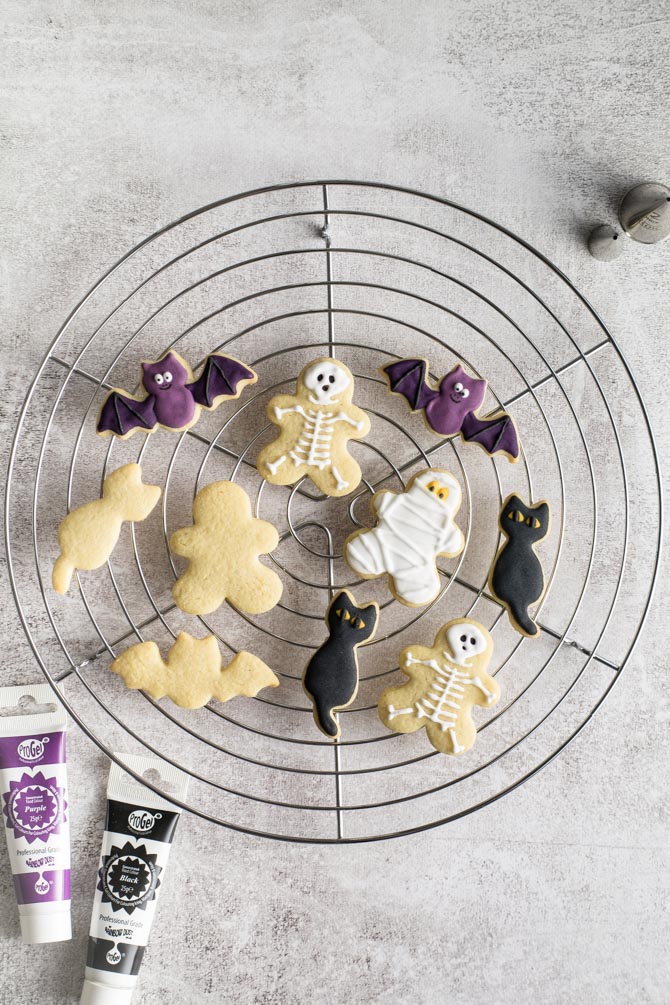
My decorated Halloween sugar cookies include pumpkins, ghosts, mummies, bats, skeletons, monsters, and cats, but really you can use any fun cookie cutters to create as much Halloween spookiness as you want. It’s your chance to get create. And if you’re putting together a Halloween treat table, these easy Halloween Oreo bat cupcakes would fit right in alongside these cookies.
When you’re baking sugar cookies to decorate, you want those carefully cut shapes to survive the oven. There’s nothing quite as disappointing as cutting out a tray of beautiful cookies only to find that all those lovely details have spread into something a little less recognizable.
Chilling the dough usually helps cookies keep their shape, but it also means waiting. And if you have little kids eager to get to the decorating part (or impatient adults, no judgment), you’ll appreciate being able to skip that step. These sugar cookies hold their shape beautifully without any chilling!
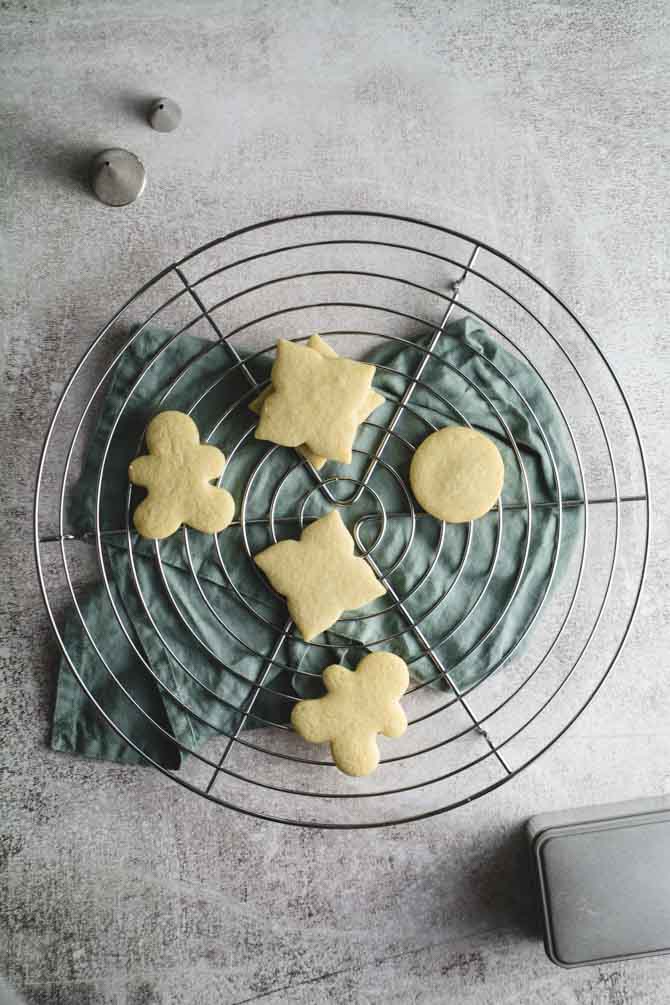
I’ve baked these cookies more times than I can count, and they’ve never let me down. Here are my best tips for getting those neat shapes and clean edges:
I have baked vanilla-flavored cookies, but if you’re more into chocolate, I recommend using this chocolate cookie recipe instead.
Do you like your cookies a little soft or prefer more crunch? At 7 minutes, these Halloween cookies will still have a slightly soft center. If you like them crispier, leave them in a little longer, but keep an eye on the edges. You’re looking for a light golden color, that’s the sweet spot! If they start turning brown, they’ve had a little too much.
These Halloween sugar cookies are decorated with royal icing. It’s great for piping fine details and filling in larger areas with a smooth layer of icing. The trick is getting the consistency right for each job.
I find it easiest to make one big batch using my recipe below, then divide it into small bowls, one for each color. If you need the same color for both outlines and filling, divide that portion again. Keep some thicker icing for piping details, and thin the rest with a little water for filling in larger areas (aka flooding icing).
Use gel food coloring to tint your icing, adding a little at a time. It’s much easier to add more color than to undo a very enthusiastic squeeze!
Why use gel food coloring?
Gel food coloring is concentrated, so a small amount goes a long way. It adds color without introducing much extra liquid, which is especially helpful with royal icing, where consistency matters. You can also mix colors to create your own shades.
Once you’re happy with the color and consistency, spoon the icing into a piping bag fitted with a decorating tip. A coupler is handy if you want to switch tips without emptying the bag. Small round tips work well for outlines and fine details, while slightly larger ones make filling in bigger areas easier.
Keep any icing you’re not using covered with plastic wrap pressed directly against the surface. Royal icing starts drying as soon as it’s exposed to air, and a crusty layer is the last thing you want.
Getting the consistency of your icing just right makes decorating so much easier and gets you much prettier results. For outlines and fine details, you need thicker icing that holds its shape. For filling in larger areas, you want thinner icing that settles into a smooth, even surface.
Too thin, and it might run straight off your cookie. Too thick, and it will leave bumps and ridges instead of smoothing out. Luckily, you can adjust it by adding water a few drops at a time.
To check the consistency of your icing, drag a spoon through the icing and count how many seconds it takes for the line to disappear. With my royal icing recipe below, I aim for:
Stir well after each addition of water, then test again. Those last few drops can make more difference than you’d think!
Start by piping a thin border around the area you want to fill, using your thicker outlining icing. Then fill it in with the thinner flooding icing.
Work on one section at a time, adding the flooding icing while the outline is still wet. This helps the two blend together into a smooth surface. If the outline has already started to set, you’ll get a more visible border.
Let the icing set before piping details on top, so they stay defined instead of sinking into the base layer. This is the part where a little patience pays off!

Be sure to store the cookies in an airtight container / cookie tin at room temperature. If in doubt of the air tightness, place parchment paper under the lid to make sure it’s completely tight. This way, the cookies will stay good for up to 1 week.



 Time: 3 hours
  Difficulty: Intermediate
 Yield: 40 cookies (approx.)


