


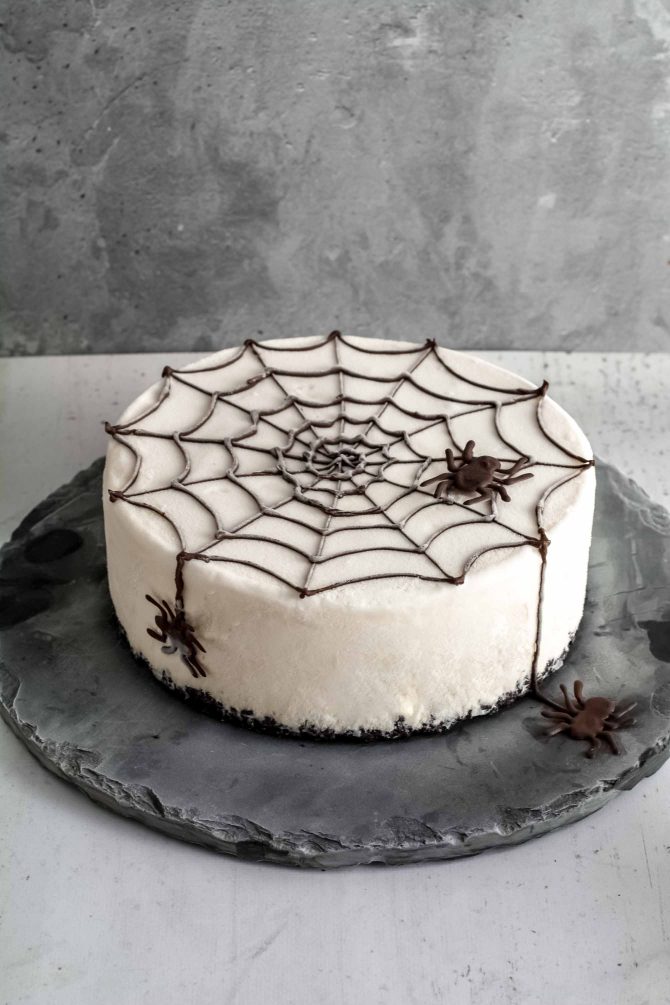
Halloween Ice Cream Cake with Three Layers
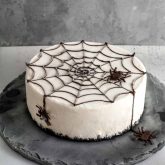
Halloween is almost here! This year we’re having a Halloween dinner party with friends, and I have made a spooky Halloween ice cream cake with a chocolate spiderweb for dessert. It looks impressive, but the best part is the combination of flavors: rich chocolate ice cream, refreshing mango-raspberry sorbet, and creamy vanilla ice cream, all resting on a crunchy Oreo crust. Yummy!
The combination is what makes this ice cream cake so good. The rich chocolate ice cream contrasts with the sweet-tart mango-raspberry sorbet, while the vanilla ice cream brings everything together with a creamy finish. And when you slice into the cake, the colorful layers look just as lovely as they taste.
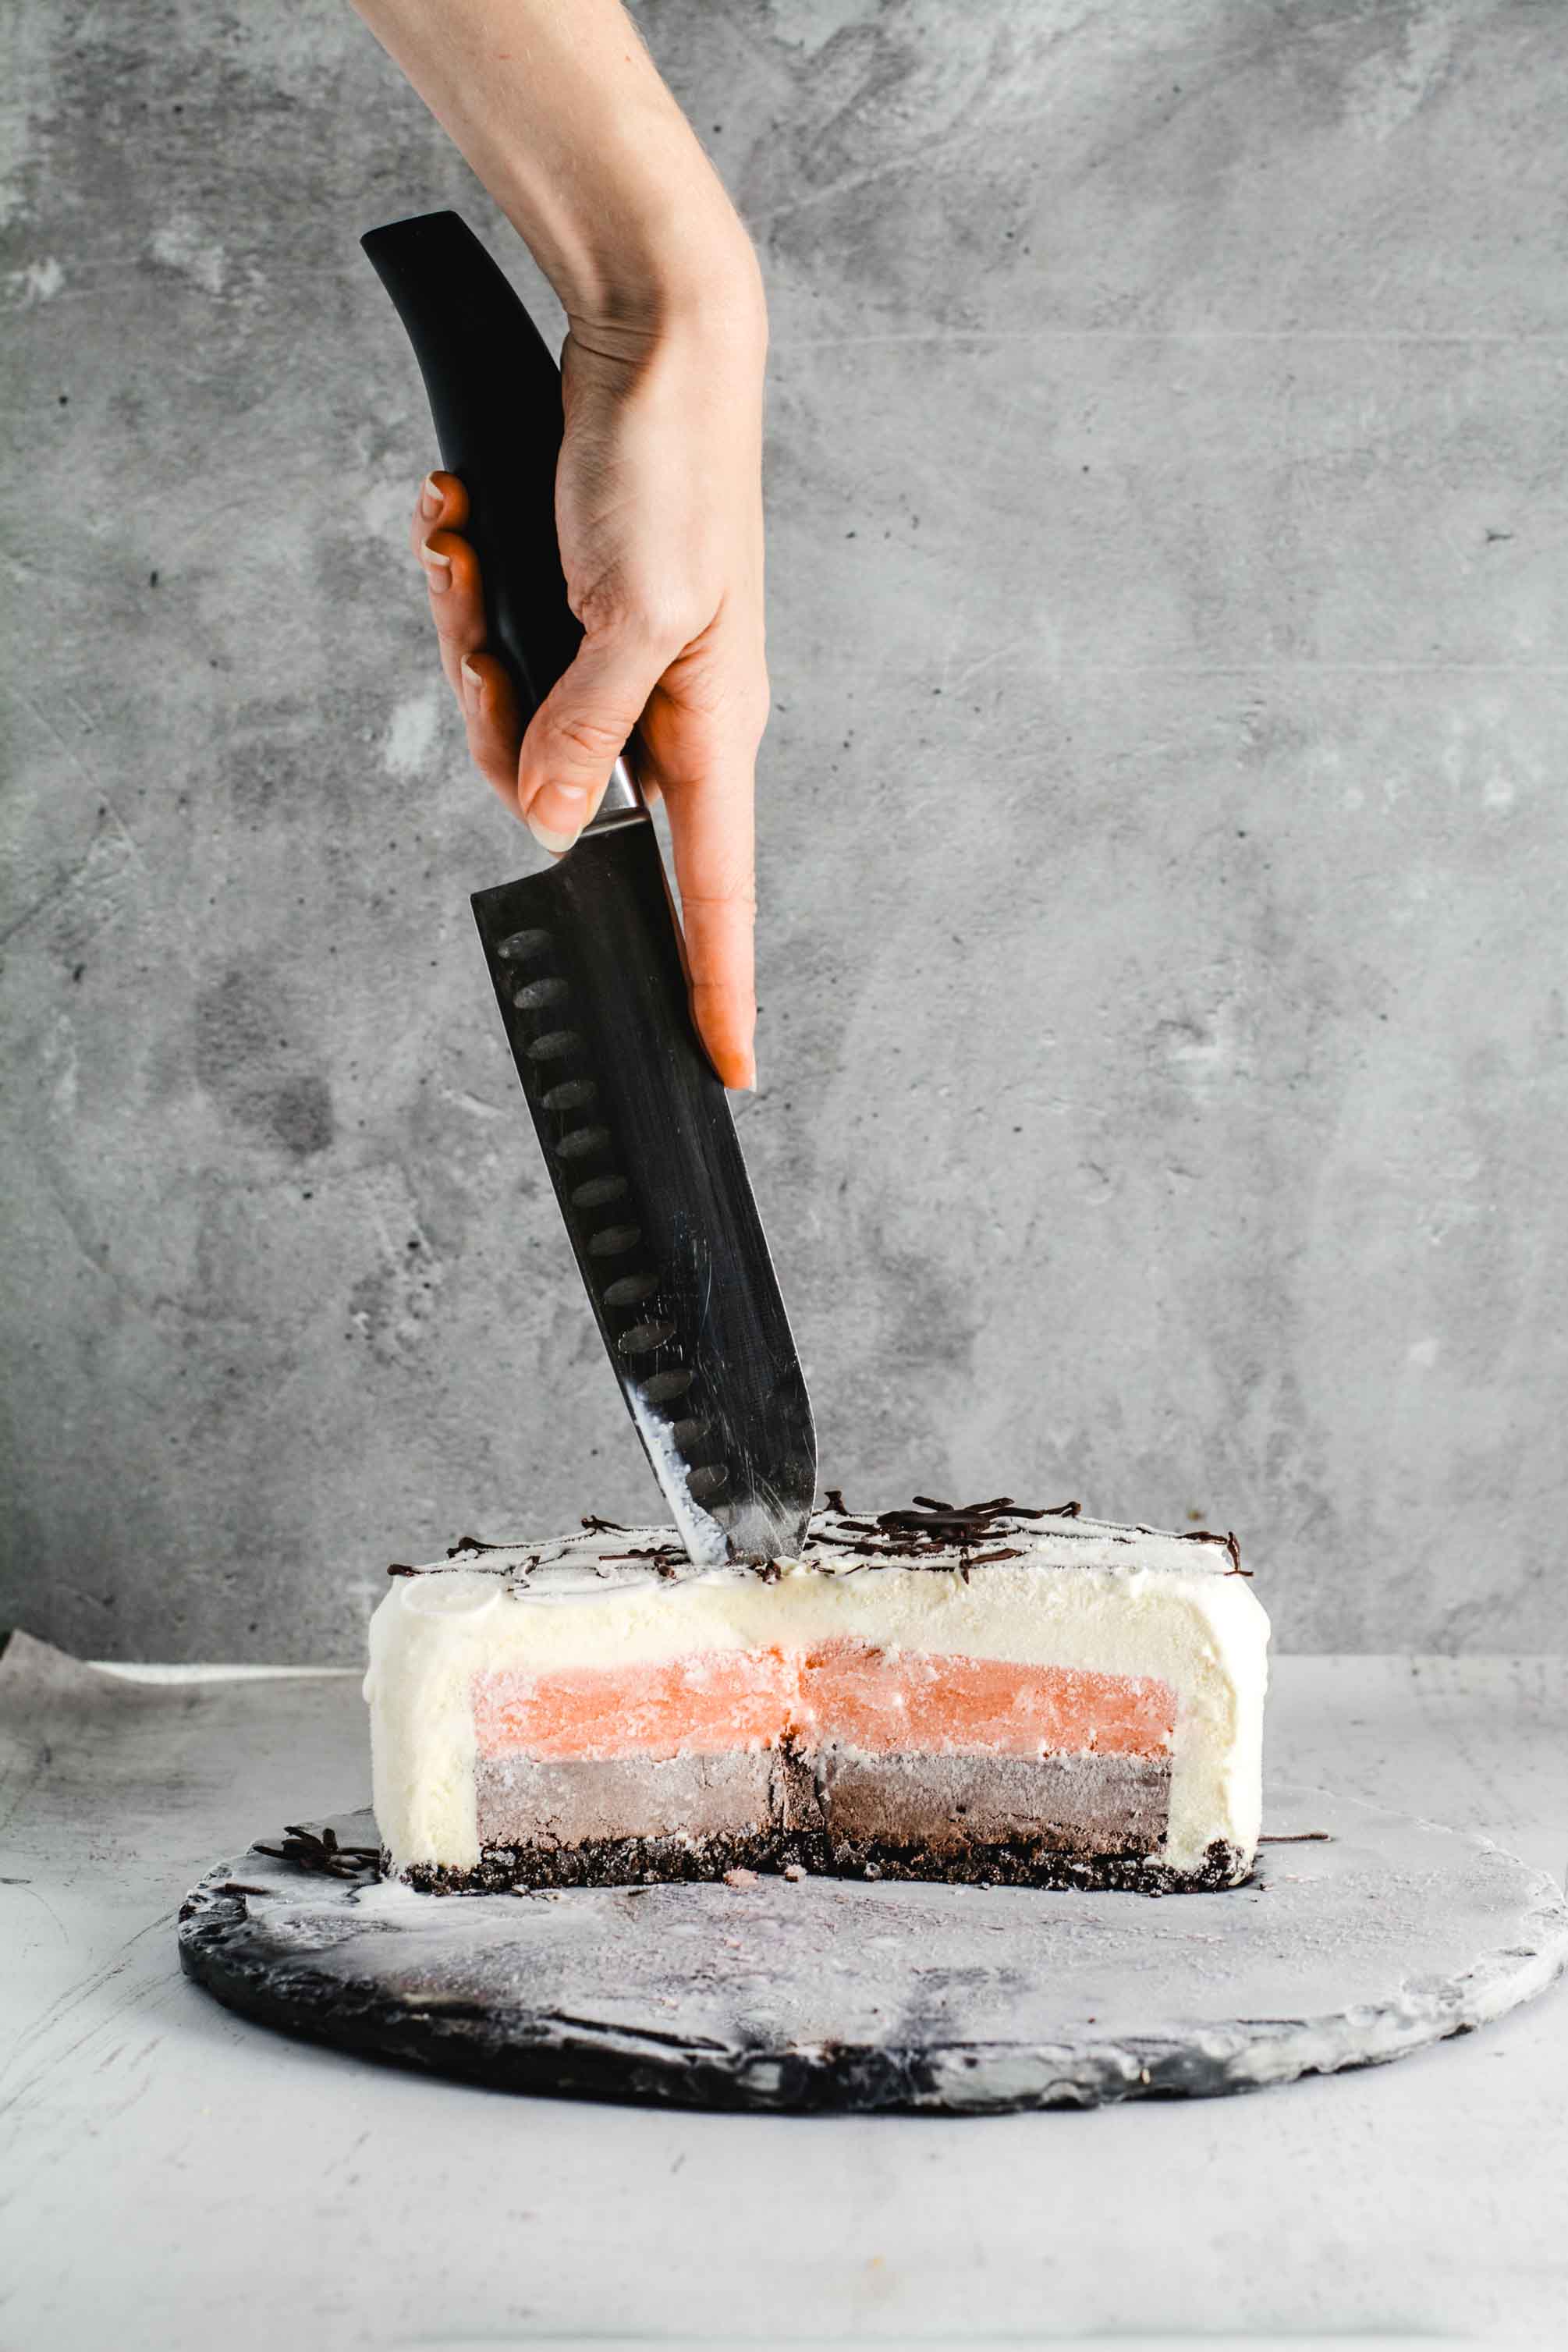
The Perfect Halloween Dessert
An ice cream cake is such a great dessert when you’re hosting a party or planning a special occasion because you can make it well in advance, decorate it before your guests arrive, and keep it in the freezer until you’re ready to serve.
I love serving ice cream cakes because:
- Everyone loves ice cream! Grown-ups, kids, I mean who doesn’t love ice cream?
- You can make it ahead. The cake can be prepared and decorated weeks in advance, leaving you more time to enjoy the company.
- It feels special. The layers, the decorations, and the beautiful slices make an ice cream cake feel like a real celebration dessert.
For Halloween, the chocolate spiderweb makes this one extra fun. You can even prepare the chocolate spiders ahead of time, so decorating the cake on the day is quick and easy.
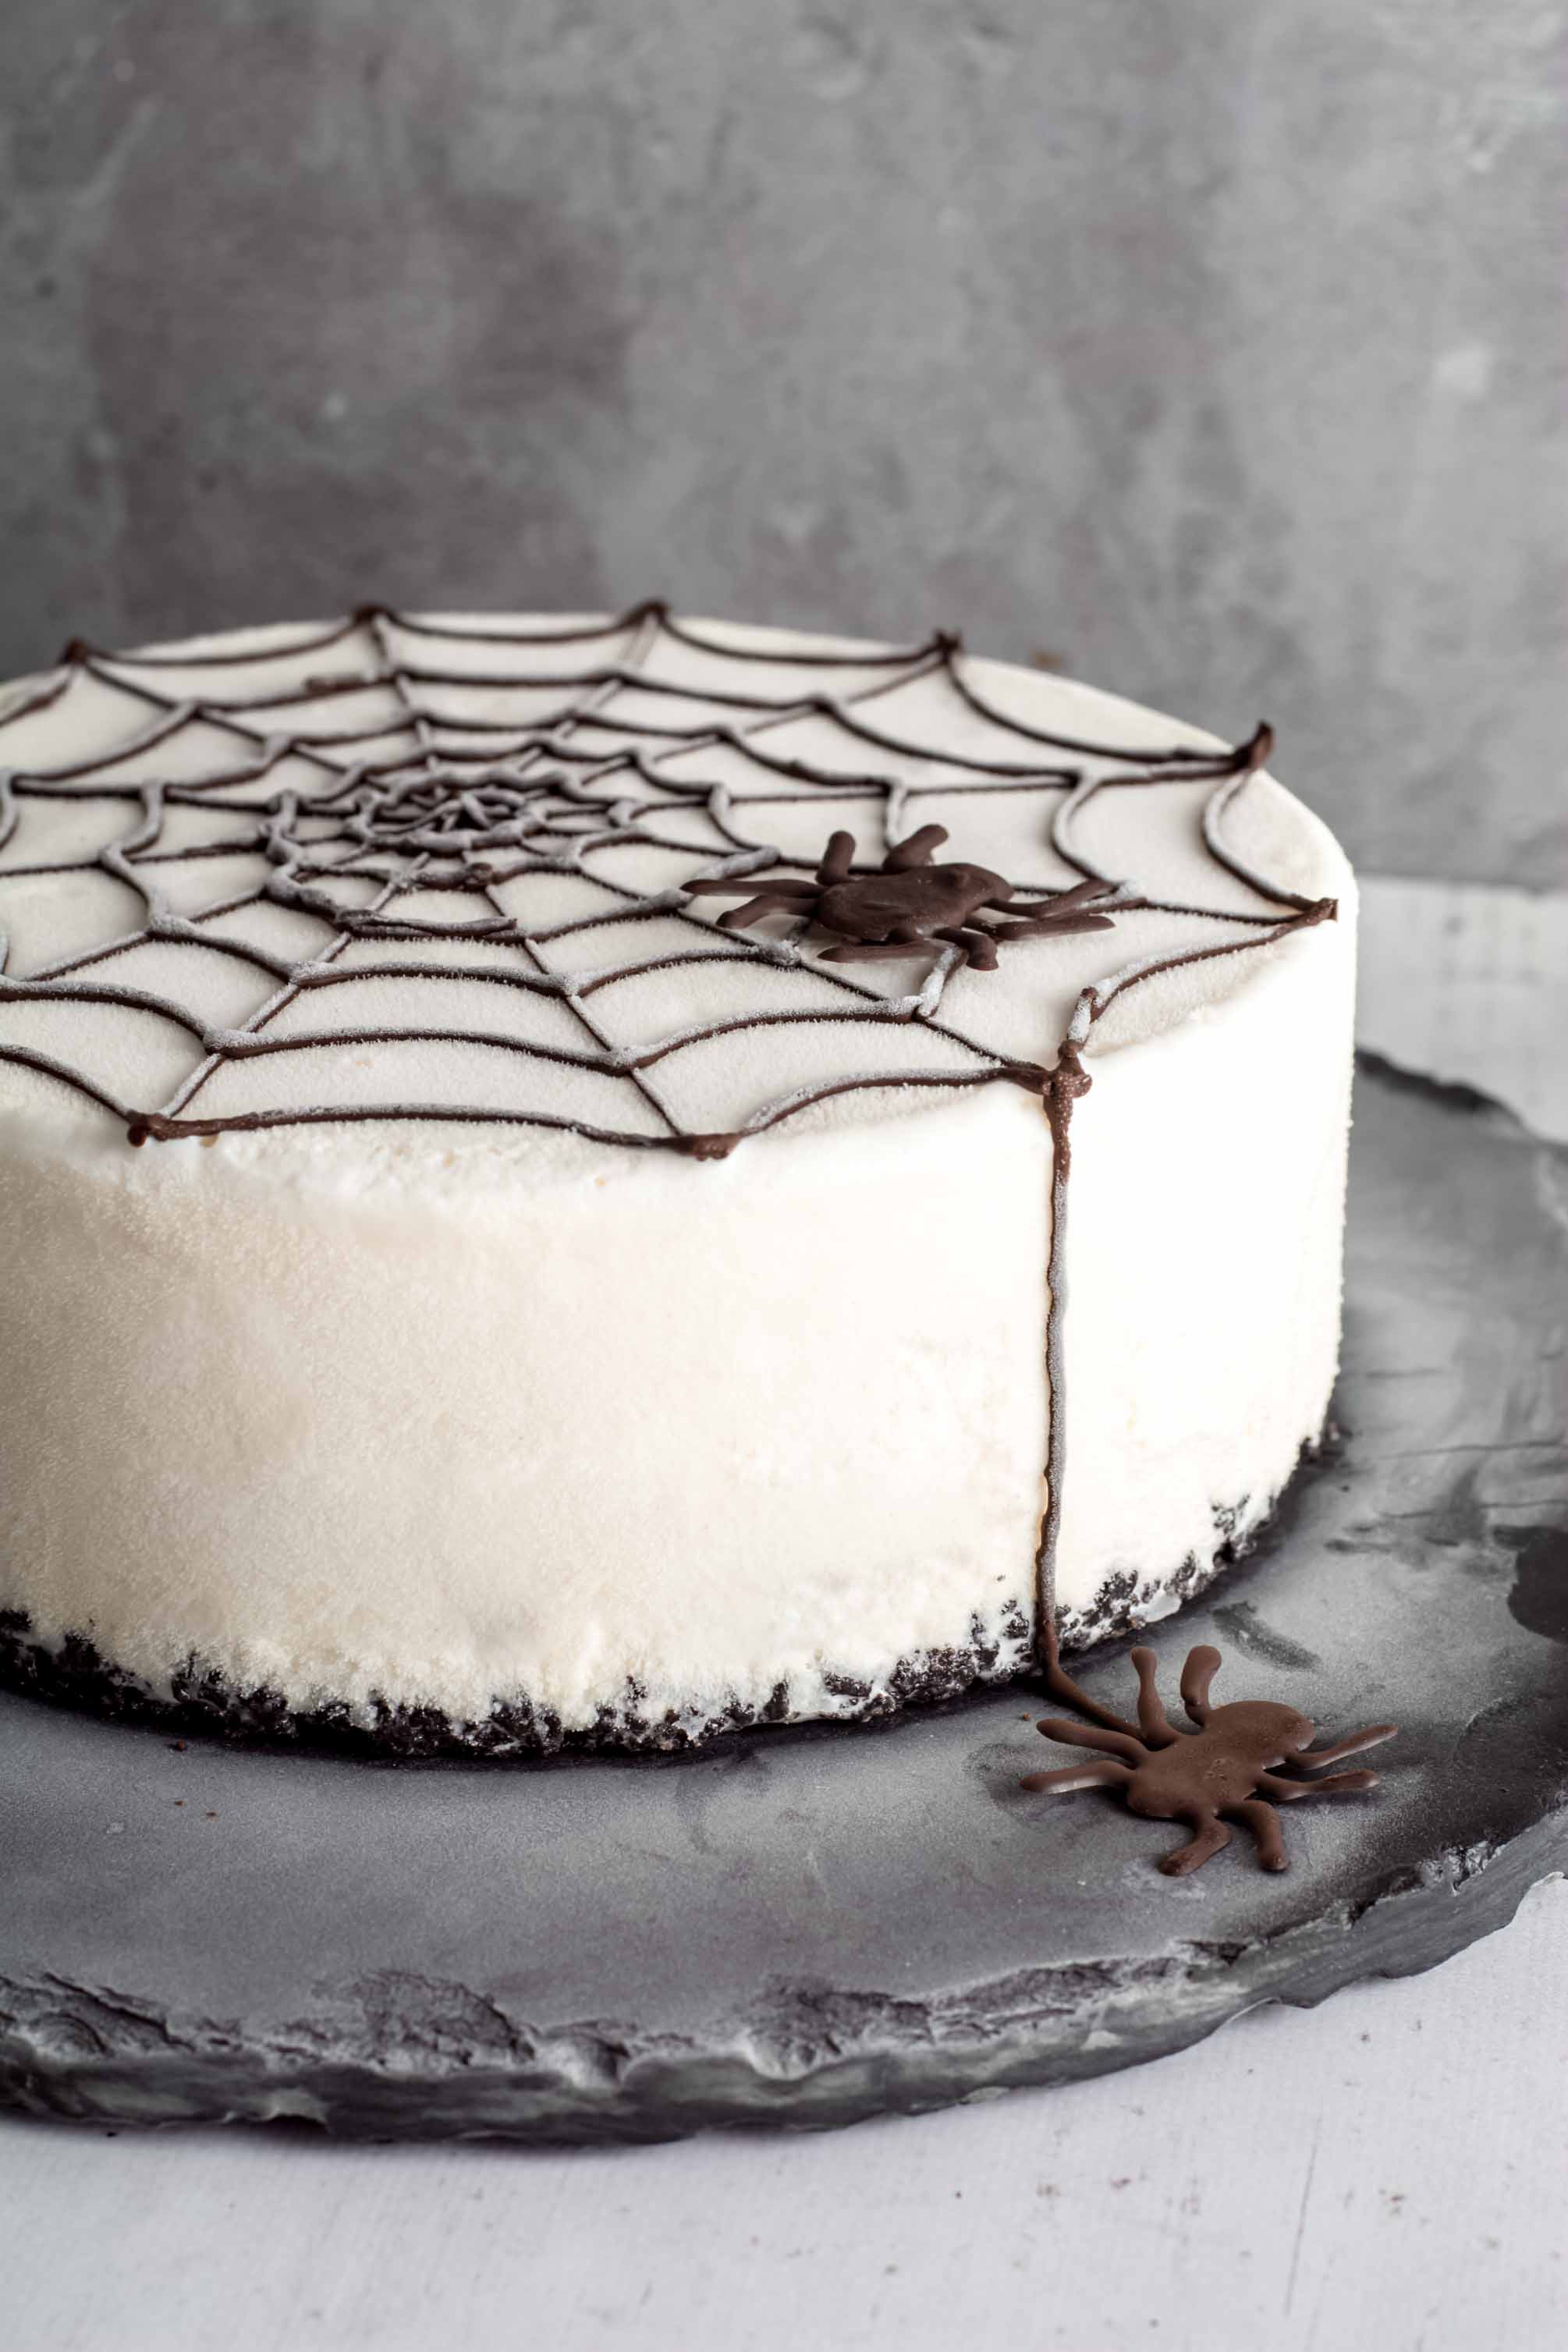
How to Pipe a Chocolate Spiderweb
If you haven’t worked with chocolate before, piping a spiderweb might look a little intimidating. The good news is that it’s easier than it looks once you know a few tricks.
The most important step is tempering the chocolate. Tempered chocolate is glossy when it sets and has a firm snap. It also behaves when you pipe it. Untempered chocolate is difficult to work with, runny and will set with a dull finish and rubbery texture. If you’re new to tempering, take a look at my chocolate tempering guide before you begin.
Once the chocolate is tempered, transfer it to a piping bag and snip a small opening at the tip. Keep the ice cream cake in the freezer until you’re ready to decorate it.
Pipe the spiderweb
- 1. Take the cake out of the freezer just before decorating.
- 2. Pipe straight lines from the center of the cake toward the outer edge. Work quickly and confidently to help keep the lines straight.
- 3. Pipe curved lines between the straight lines, starting near the outside and working your way toward the center. This creates the familiar spiderweb pattern.
- 4. Return the cake to the freezer as soon as you’ve finished decorating it.
Try not to hesitate while piping. If you move too slowly, the chocolate will curl or form wavy lines instead of flowing smoothly.
Make the chocolate spiders
The chocolate spiders are easiest to make separately on a piece of parchment paper. Pipe spider shapes onto the paper and let the chocolate set completely. Carefully peel them off and arrange them on top of the cake.
Making the spiders ahead of time is especially helpful because you can take your time getting their shapes right without worrying about the ice cream melting.
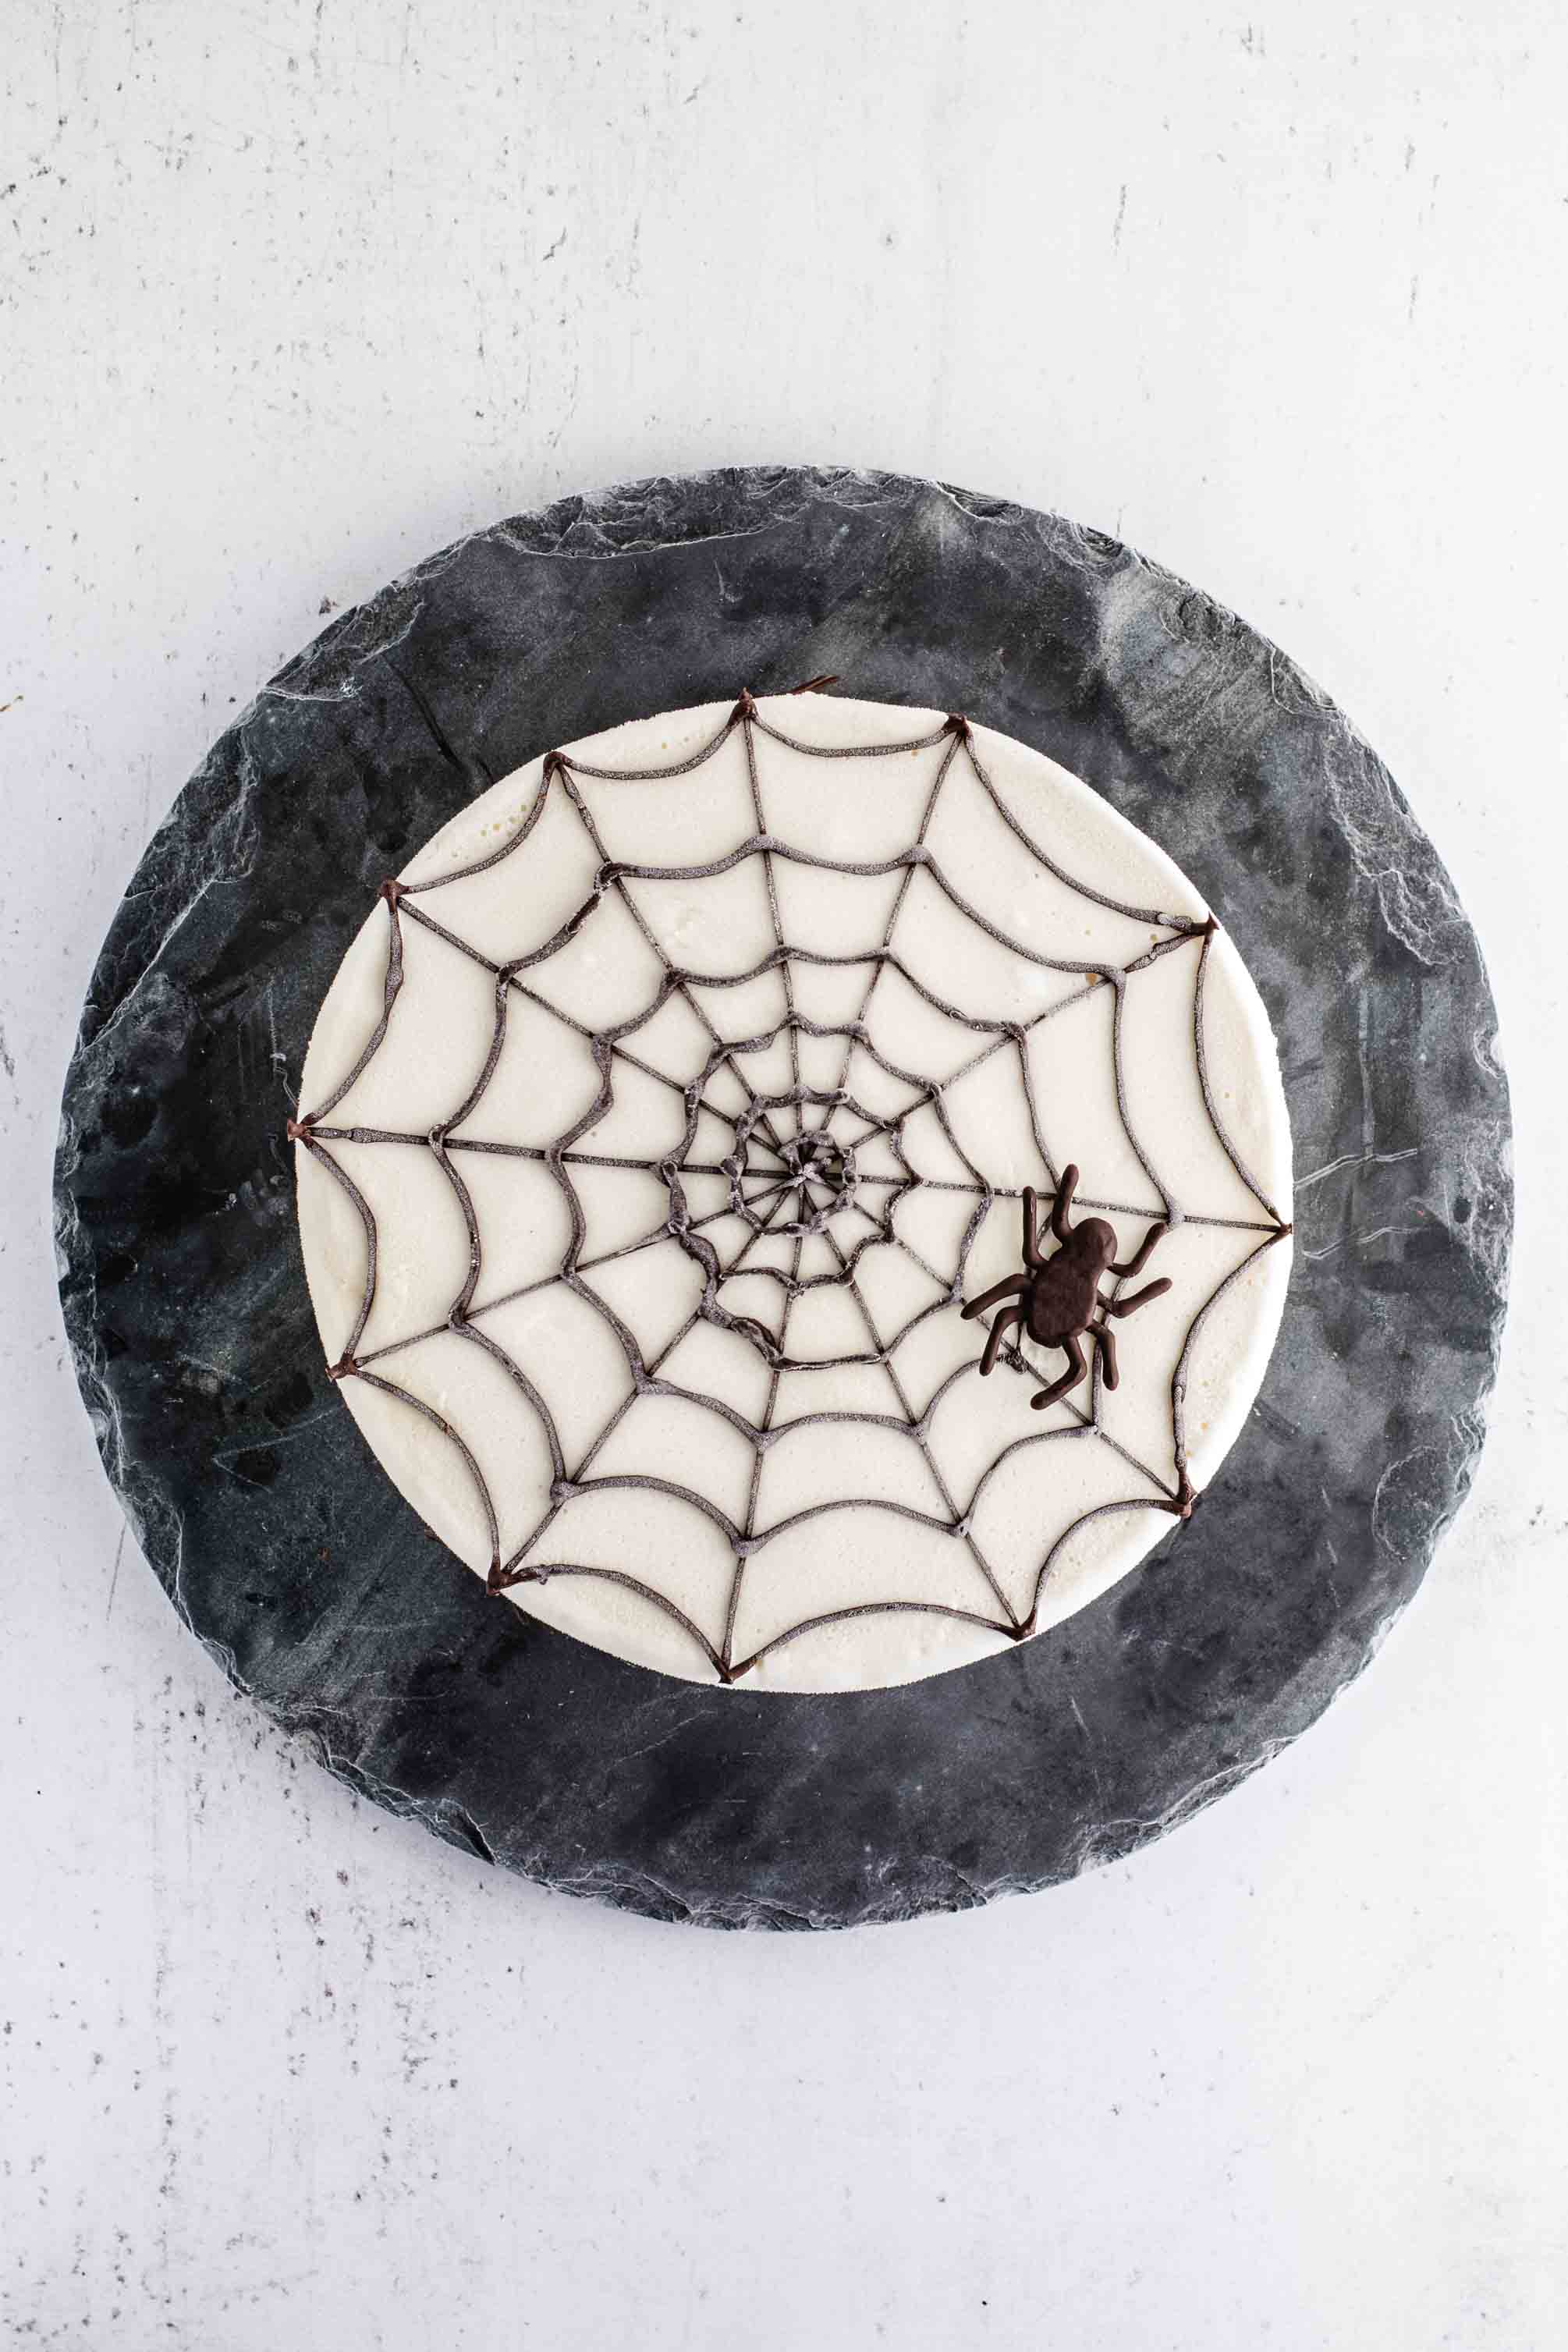
How to Serve the Halloween Ice Cream Cake
This is a tall ice cream cake with several firm frozen layers, so it needs some time at room temperature before you can slice it.
Let the cake stand for about 20–30 minutes before serving, depending on the temperature of your kitchen. For neat slices, warm a sharp knife under hot water and wipe it dry before cutting. Repeat between slices as needed.
The exact thawing time will depend how warm the room is, so check the ice cream cake as it thaws. You want it easy enough to cut while still holding its shape.
Frequently Asked Questions
Can I use candy melts instead of chocolate for the spiderweb?
Yes! Candy melts are a convenient alternative if you’d rather not temper chocolate. They’re designed to melt and set without tempering, making them easier to pipe for decorations. The downside is the flavor and texture: candy melts are often sweeter and less rich than real chocolate. For the best flavor, I recommend using good-quality dark chocolate and tempering it properly. If convenience is your priority, candy melts will work too.Does this ice cream cake require an ice cream maker?
No. You can freeze the ice cream manually instead. Pour each ice cream mix into a freezer-safe container and stir it thoroughly every 20 minutes as it freezes, until it reaches a soft-serve consistency. This helps break up ice crystals and gives the ice cream a smoother texture. You’ll need to repeat the process for each type of ice cream before assembling the ice cream cake to avoid ice crystals.How far ahead can I make the ice cream cake?
You can make the cake several days or up to 1 week ahead and keep it covered in the freezer. You can also pipe the chocolate spiders onto parchment paper ahead of time and store them in a cool, dry place in an airtight container until you’re ready to decorate.Why does the cake need two different-sized pans?
The smaller pan is used to freeze the chocolate ice cream and mango-raspberry sorbet layers together. Once these layers are firm, they’re placed in the center of the larger pan on top of the Oreo crust. The vanilla ice cream is then spread around and over the smaller layers to create the outer layer of the cake.How do I get the ice cream layers out of the smaller pan?
Run a knife under hot water, dry it, and carefully run it around the inside edge of the pan before releasing the springform ring. Peel away the parchment paper and transfer the frozen layers to the center of the larger cake. Work quickly so the ice cream doesn’t have time to soften too much.Why is my chocolate spiderweb breaking or looking dull?
This can happen if the chocolate isn’t tempered properly. Tempering helps real chocolate set with a glossy finish and a firm snap. If the chocolate is too warm or out of temper, the web may take longer to set and can look dull or develop streaks. Make sure the chocolate is properly tempered before piping, and work quickly while the cake is still frozen.How long should I let the ice cream cake thaw before serving?
Let the cake stand at room temperature for about 20–30 minutes before slicing. The exact time depends on the temperature of your kitchen and freezer. Warm a sharp knife under hot water, wipe it dry, and cut the cake into slices. Repeat between cuts for cleaner slices.Can I use a different flavor of sorbet?
You can experiment with another fruit sorbet, but choose one that complements the chocolate and vanilla layers. Mango-raspberry gives this cake a sweet-tart fruit layer that balances the richness of the chocolate ice cream. Keep in mind that changing the sorbet may alter the flavor and color of the finished cake.Can I use store-bought ice cream instead of making it from scratch?
Yes, if you’d like to save time. Let the store-bought ice cream soften just enough to spread, then use it to assemble the layers as described in the recipe. Work quickly and freeze each layer until firm before adding the next one. The texture and sweetness may differ from the homemade versions, but it’s a useful shortcut when you’re short on time.

Recipe
Spiderweb Ice Cream Cake for Halloween
 Prep Time 2 hours 30 minutes Cook Time 10 minutes Freezing time 16 hours Time: 18 hours 40 minutes
 Difficulty: Advanced
 Yield: 16 servings
Ingredients
Oreo Crust:
- 16 Oreos
- 50 g unsalted butter
Dark Chocolate Ice Cream:
- 100 g good-quality dark chocolate (55-70%)
- 250 ml heavy cream
- 4 tbsp dark cocoa powder
- 1 tsp vanilla
- 200 ml milk
- 75 g granulated sugar
- 2 egg yolks
Mango-Raspberry Sorbet:
- 450 g mango (cubed, from 2 large mangoes)
- 100 g raspberries (frozen)
- 100 g granulated sugar
- 300 ml coconut milk
Vanilla Ice Cream:
- 2 eggs (pasteurized if available)
- 150 ml granulated sugar
- 1/2 tsp vanilla
- 300 ml heavy cream
- 100 ml milk
Garnish:
- 200 g good-quality dark chocolate
Instructions
Prep:
- Line two round pans, one 24 cm / 9½-inch and one 22 cm / 9-inch pan, with parchment paper**. The small pan is for the chocolate ice cream and mango-raspberry ice cream, and the large pan is for the Oreo crust and the outer vanilla ice cream layer.
Oreo Crust:
- Twist apart the Oreos and scrape out the cream filling. Place the chocolate cookies in a plastic bag and crush them into crumbs with a rolling pin. Transfer the crumbs to a bowl.16 Oreos
- Melt the butter and pour it over the Oreo cookie crumbs, stirring until evenly coated.50 g unsalted butter
- Press the Oreo cookie crumbs into an even, flat layer in the bottom of the large baking pan and refrigerate.
Dark Chocolate Ice Cream:
- Chop the dark chocolate and set it aside.100 g good-quality dark chocolate
- Combine the heavy cream, Dutch-process cocoa powder, and vanilla in a small saucepan. Bring to a boil, whisking constantly.250 ml heavy cream, 4 tbsp dark cocoa powder, 1 tsp vanilla
- Remove the saucepan from the heat and let it cool for about a minute, then stir in the chopped dark chocolate. Stir with a wooden spoon until the chocolate has melted completely. Pour the chocolate mixture into a bowl and set aside.
- Whisk the egg yolks in a small bowl and set them aside near the stove.2 egg yolks
- Combine the milk and sugar in a small saucepan and whisk together while heating slowly. Once the milk is warm (not hot!), pour a small amount into the egg yolks while whisking with a fork to temper them.200 ml milk, 75 g granulated sugar
- Pour the egg mixture into the saucepan with the milk and heat everything over medium-high heat until just below the boiling point. The mixture will thicken slightly and coat the back of a spoon in a thin layer.
- Pour the milk-egg mixture into the bowl with the chocolate mixture and stir well with a wooden spoon. Let it cool slightly, then press plastic wrap directly onto the surface of the ice cream mixture and refrigerate for at least 6 hours (overnight is even better).**
- Churn the chocolate ice cream in your ice cream maker until it reaches soft-serve consistency (about 30 minutes in my machine). Don't have an ice cream maker? See notes***
- Spread the chocolate ice cream in an even layer in the small springform pan, smoothing the top with an offset spatula. Freeze for at least 4 hours before adding the next ice cream layer.
Mango-Raspberry Sorbet:
- Combine the frozen raspberries and sugar in a small saucepan and cook for 2-3 minutes. Remove from heat and blend with an immersion blender. Strain the mixture to remove the seeds. Let the raspberry sauce cool in the refrigerator until it reaches room temperature.100 g raspberries, 100 g granulated sugar
- Meanwhile, cut the mangoes into cubes. Blend the mango, raspberry juice, and coconut milk in a blender or food processor until smooth and free of lumps.450 g mango, 300 ml coconut milk
- Churn the ice cream in your ice cream maker until it reaches a soft-serve consistency (about 40 minutes in my machine). No ice cream maker? See notes***
- Spoon the mango-raspberry sorbet into the small springform pan on top of the frozen chocolate ice cream in an even layer, then smooth the top with an offset spatula. Freeze for at least 4 hours.
- Run a knife under hot water and trace it along the inside edge of the springform pan, then release the ring. Remove the parchment paper from the ice cream and place it in the center of the large pan, on top of the Oreo crust.
- Put the ice cream cake in the freezer while making the vanilla ice cream.
Vanilla Ice Cream:
- Whisk the eggs, sugar, and vanilla together in a bowl with a hand mixer. In another bowl, whip the heavy cream to soft peaks. Gently fold the whipped cream into the egg mixture along with the milk, working slowly so you don’t knock out the air.2 eggs, 150 ml granulated sugar, 1/2 tsp vanilla, 300 ml heavy cream, 100 ml milk
- Churn the vanilla ice cream in your ice cream maker until it reaches soft-serve consistency (about 30 minutes in mine). Don’t have an ice cream maker? See notes***
- Spread the vanilla ice cream over the chocolate-mango-raspberry layer in the large pan, working it down along the sides. Tap the pan on the counter a few times to help the ice cream settle evenly.
- Freeze the ice cream cake for at least 2 hours.
Garnish:
- Melt and temper the dark chocolate****. Spoon some of the chocolate into a piping bag and snip a small hole, or fold a small parchment cone for piping.200 g good-quality dark chocolate
- Take the ice cream cake out of the freezer and pipe a chocolate spiderweb on top with a steady hand. Pipe spiders onto a piece of parchment paper and let them harden before placing them on the cake.
To Serve:
- Let the ice cream cake thaw for 20-30 minutes before slicing.
