


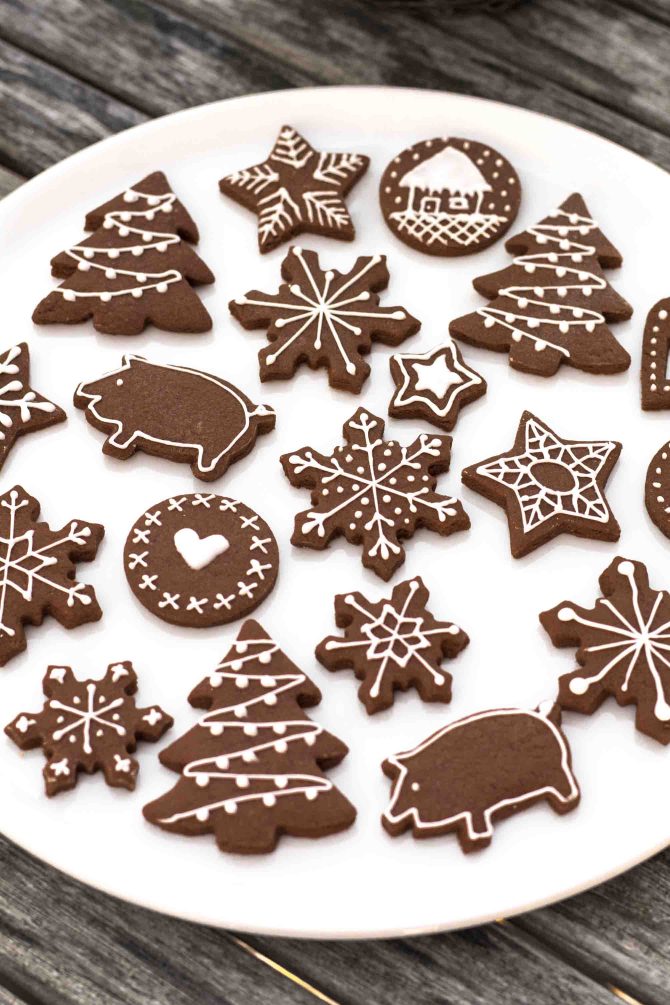
Easy Chocolate Cookie-Cutter Christmas Cookies
December is here and I’m so ready for all the cozy Christmas activities we have coming up. For me, that often means spending a lot of time in the kitchen baking with my family.
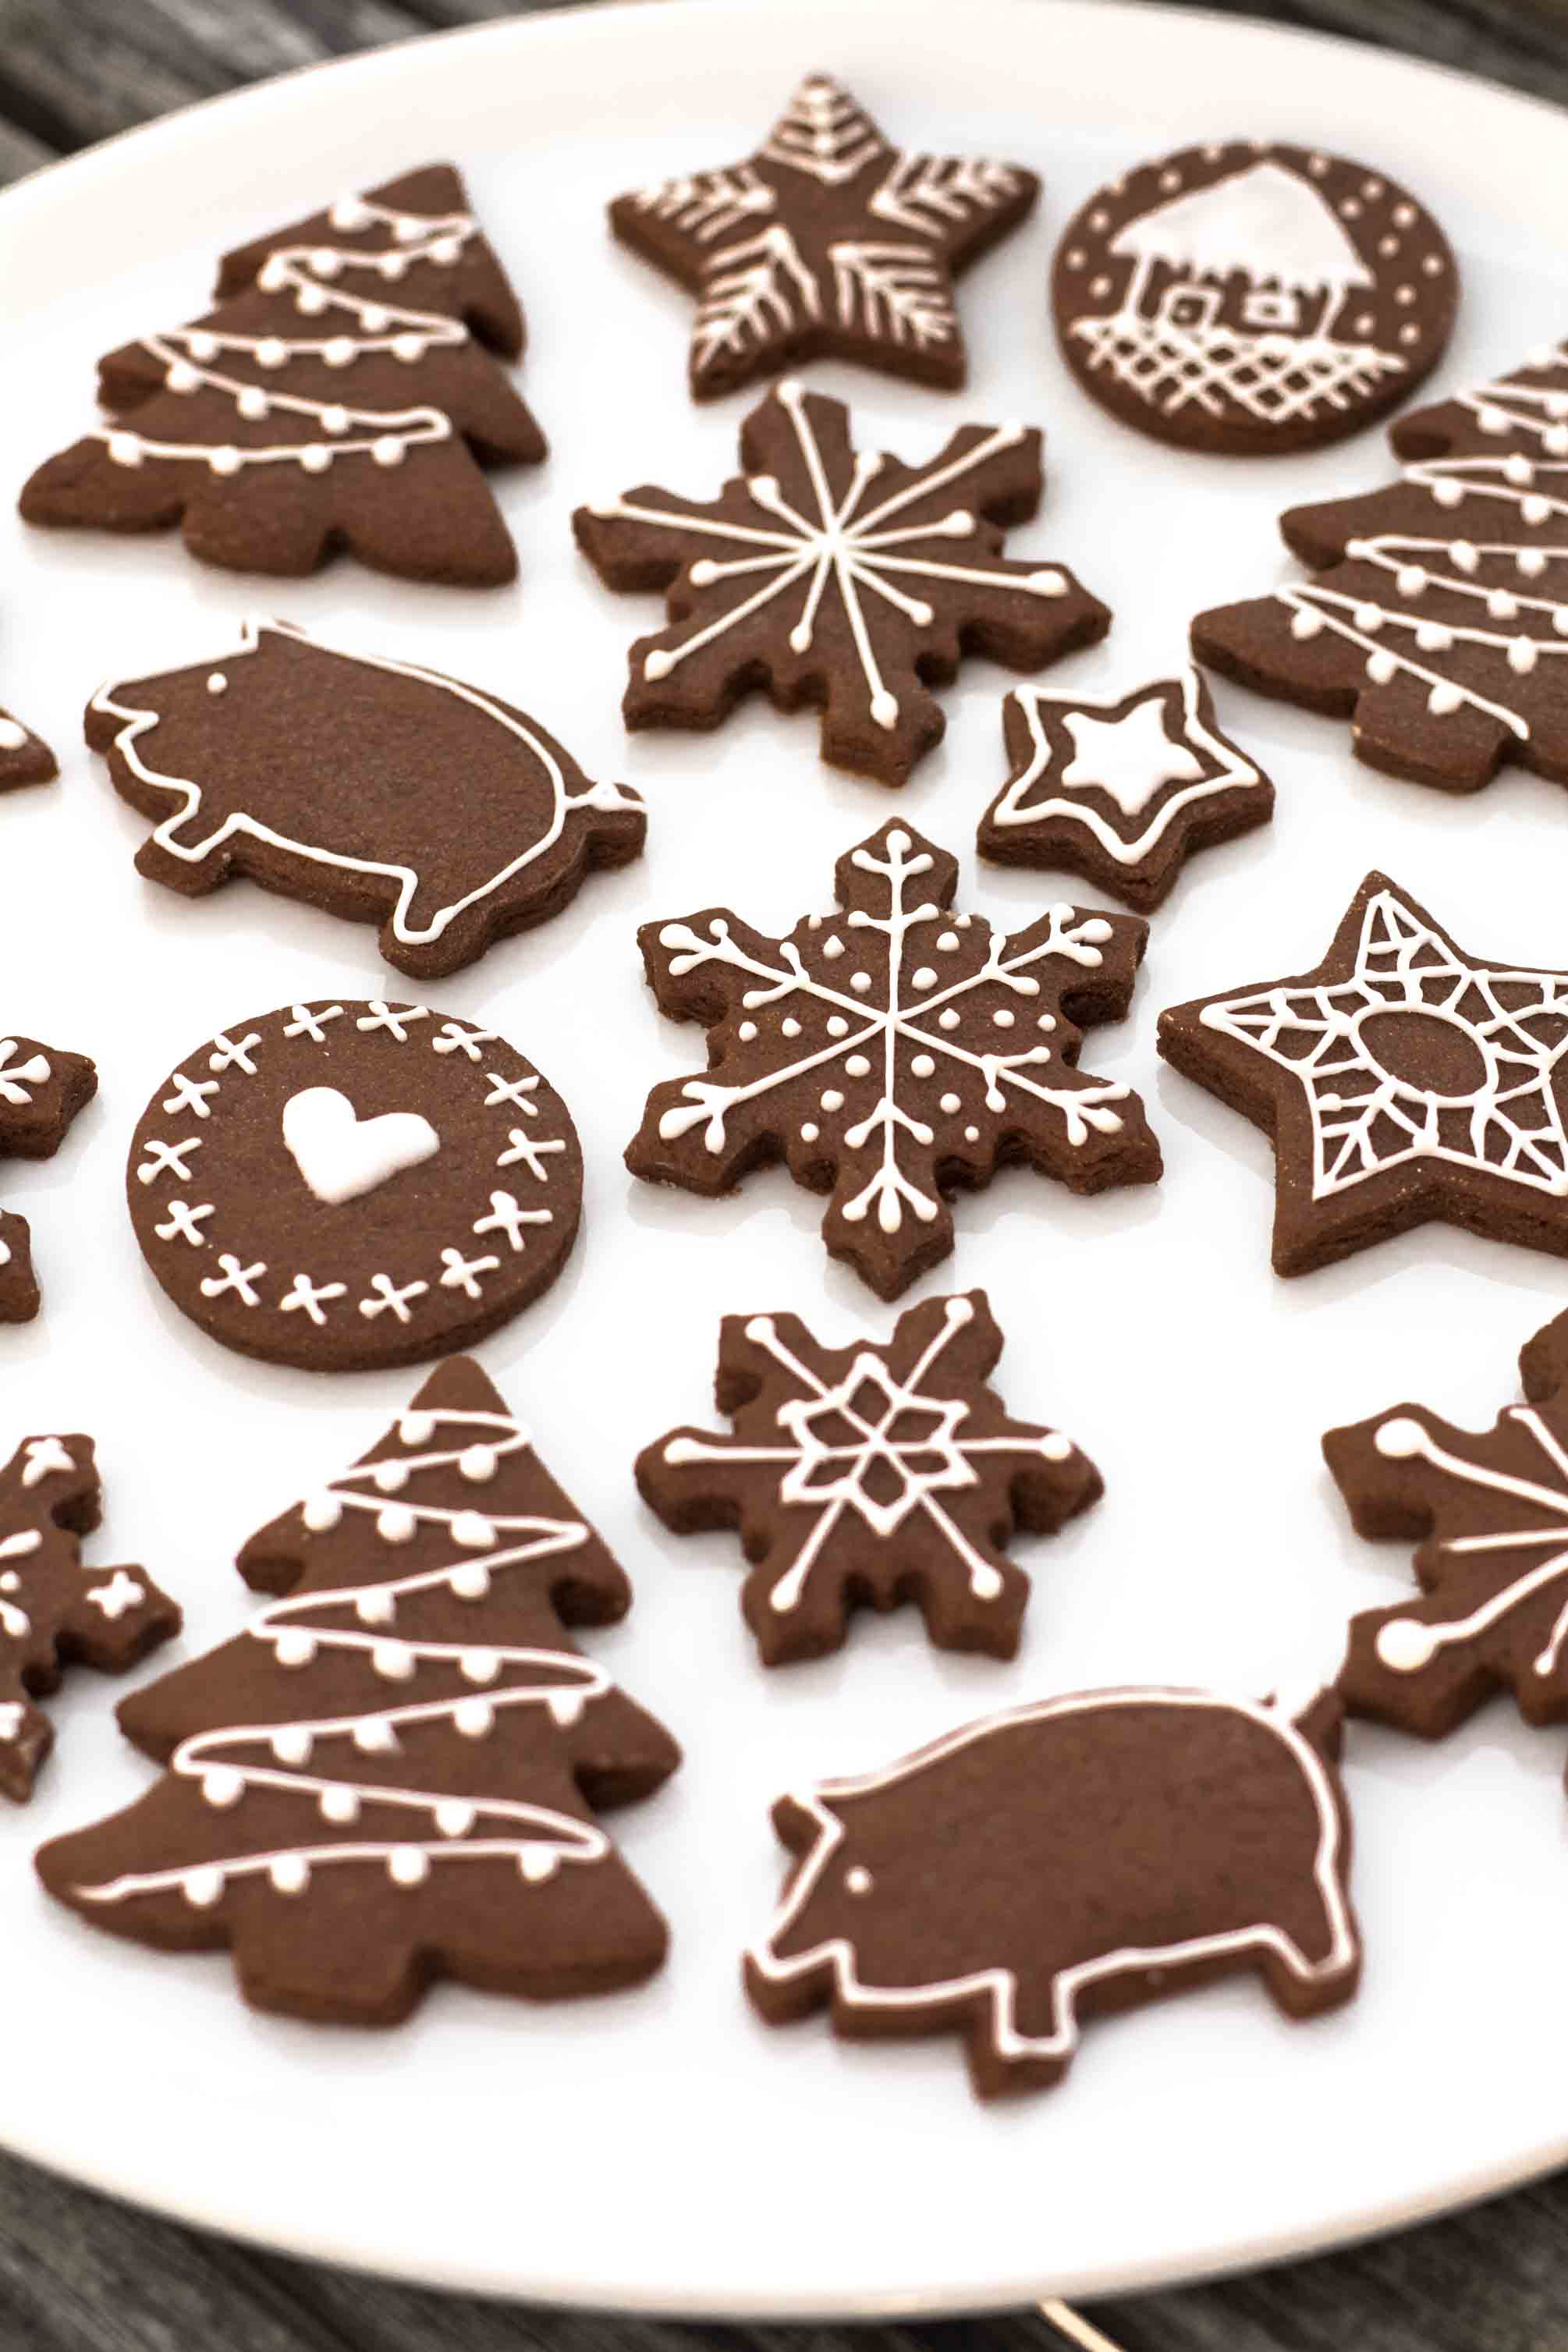
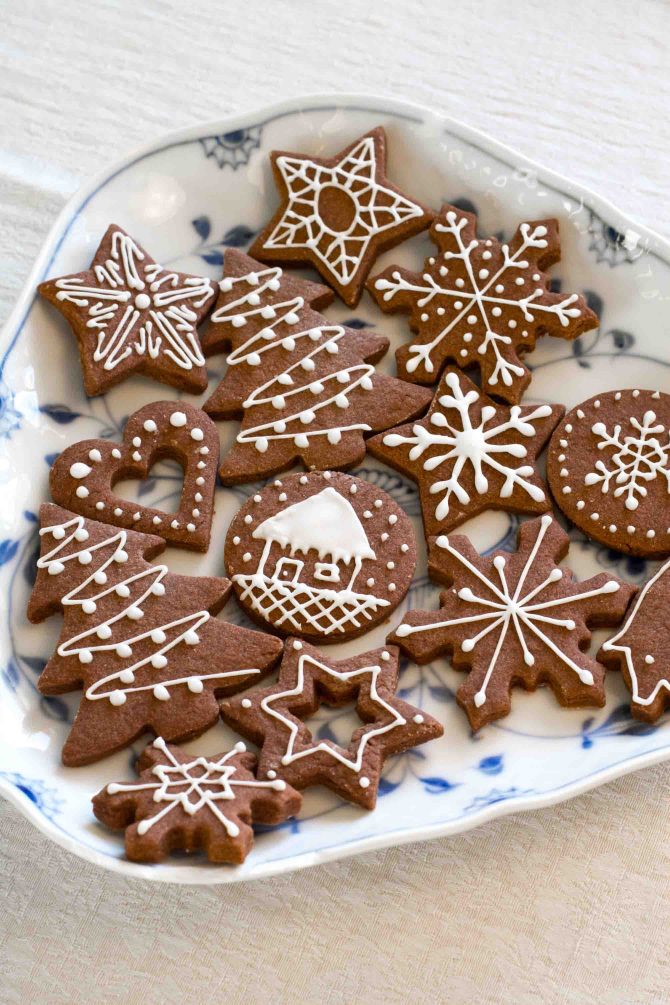
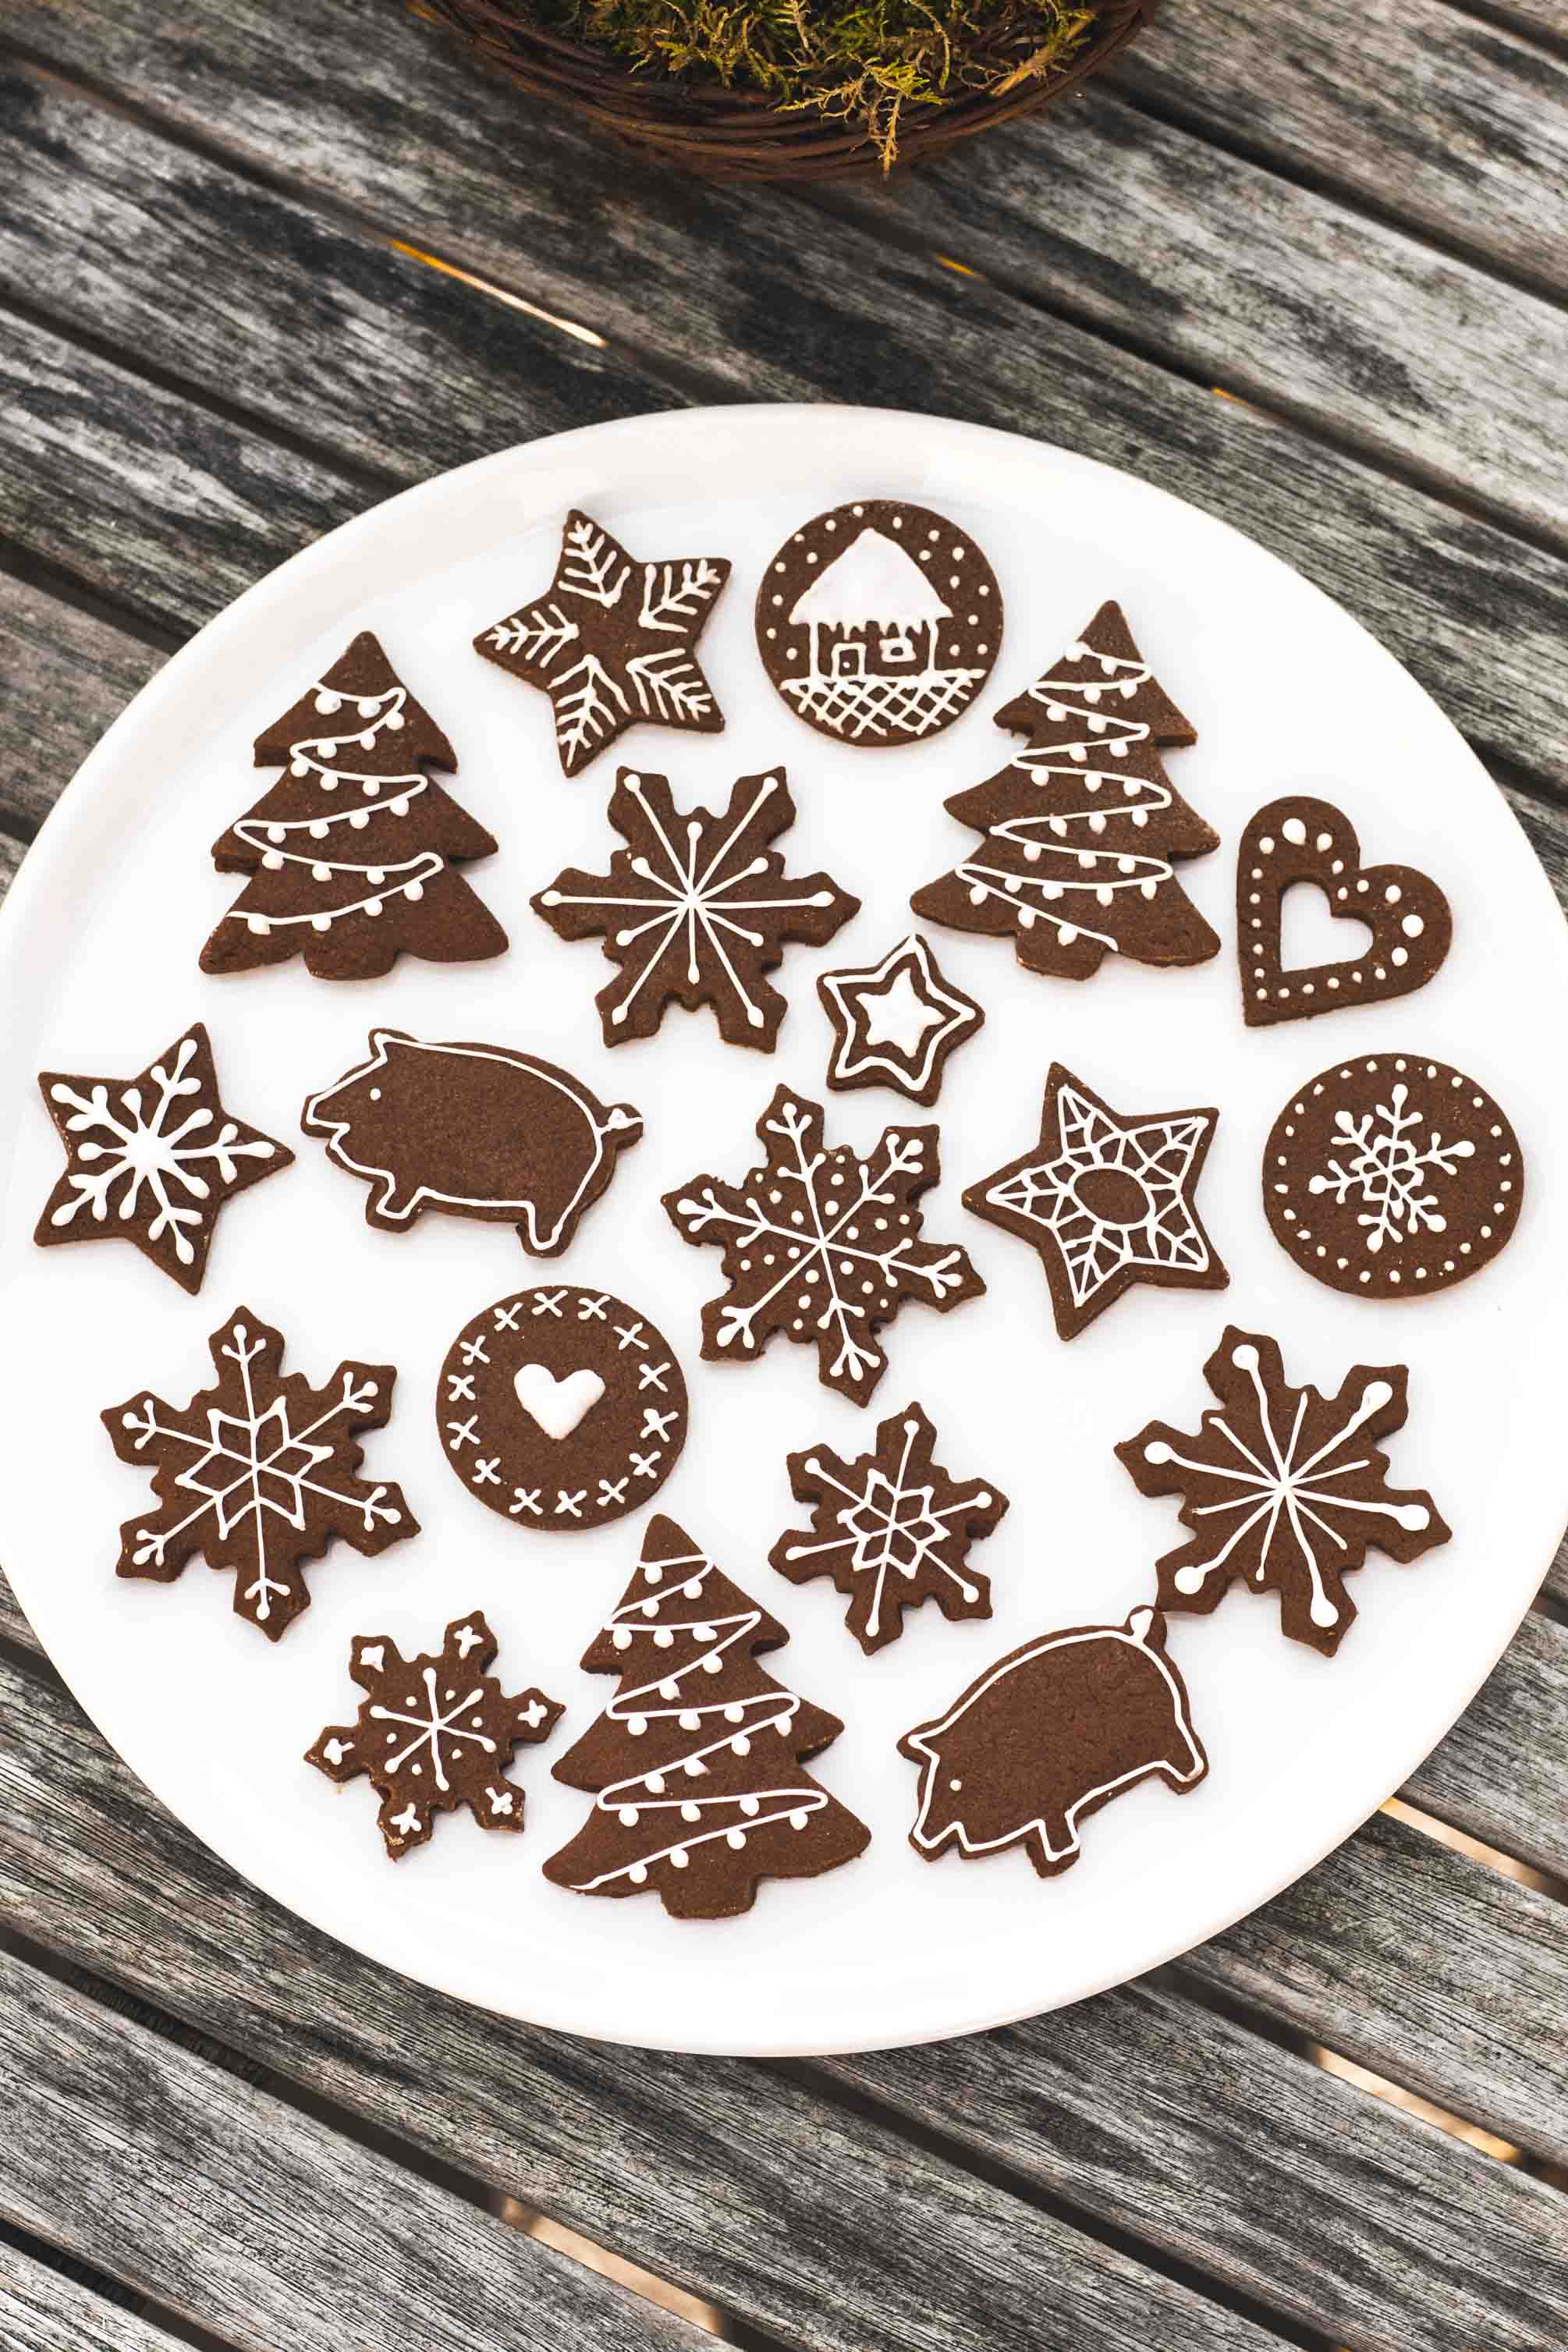
These chocolate sugar cookies are a great Christmas baking project for kids and adults alike. You can use cookie cutters to create stars, hearts, Christmas trees, or any other shapes you like, then decorate them with royal icing. There’s plenty of room for creativity, and you can make each cookie unique.
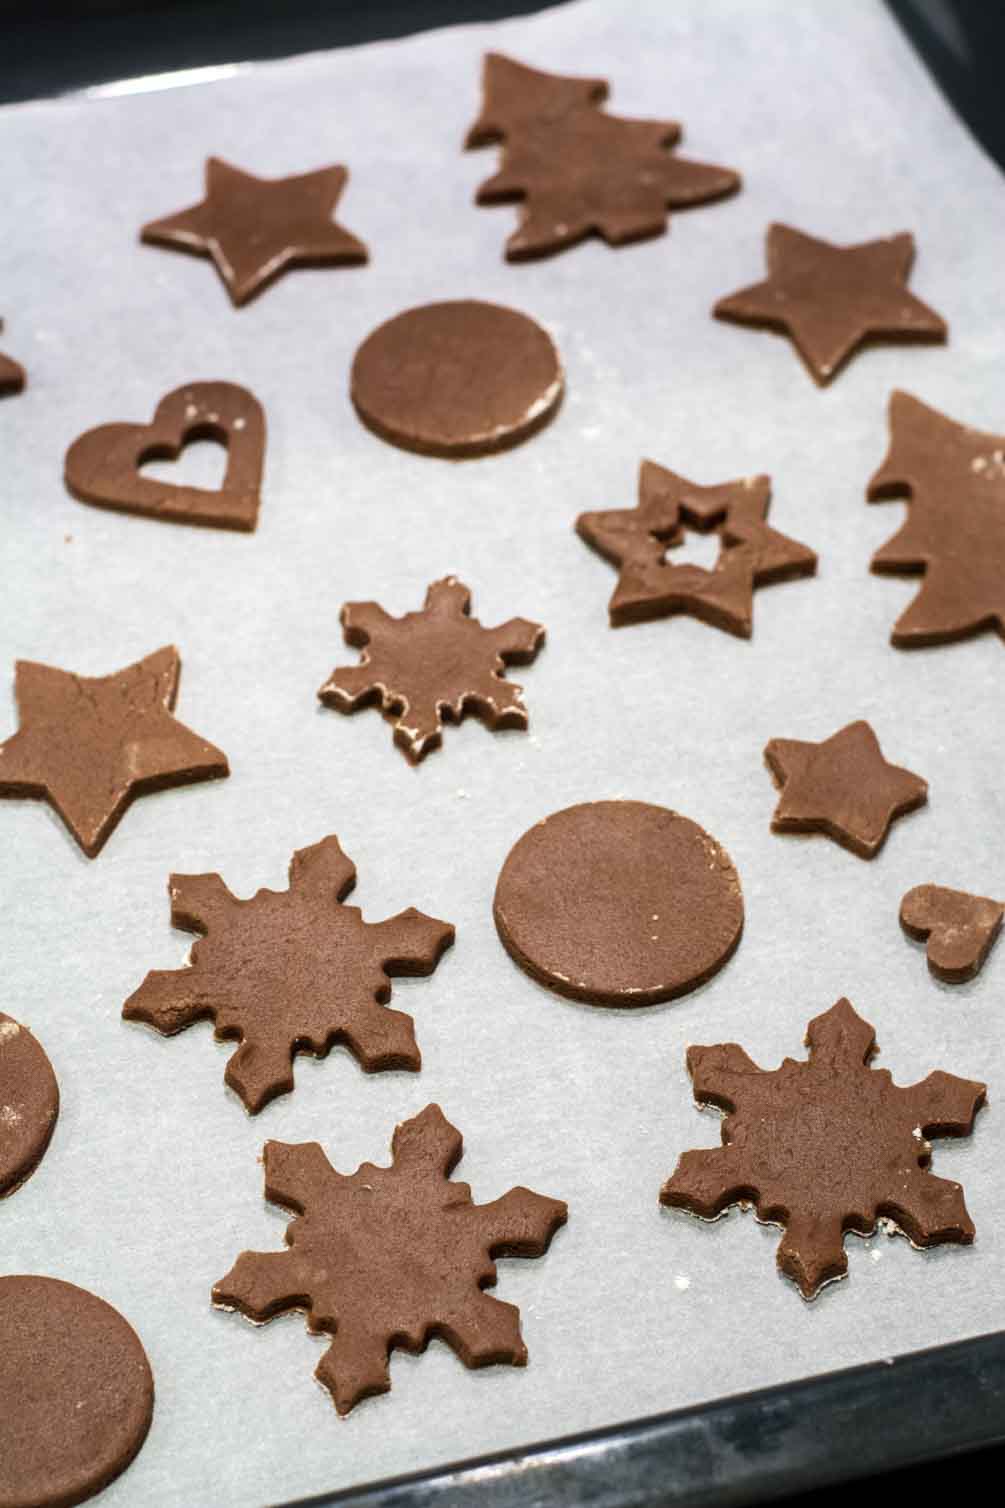
The best part? These sugar cookies hold their shape during baking without needing to chill the dough first. That means you can roll out the dough, cut out your favorite shapes, and get straight to baking. No patient waiting required.
If you’re planning a Christmas cookie baking day, you might also enjoy my Brunkager (Danish Gingerbread Cookies) and Crinkle Brownie Cookies.
Ingredients for No-Chill Chocolate Sugar Cookies
You only need a handful of common baking ingredients to make these easy chocolate sugar cookies. A few details will help you get the best results.
- All-purpose flour: Use regular all-purpose flour rather than bread flour. Flour with a high protein content can make the dough tougher and more difficult to work with.
- Unsweetened cocoa powder: Cocoa gives these cookies their rich chocolate flavor. I recommend using unsweetened cocoa for the best flavor.
- Powdered sugar: Check that your powdered sugar is fresh and free of hard lumps before making the royal icing. Sifting it first can help you achieve a smooth consistency.
- Unsalted butter: Butter gives the cookies their flavor and texture. Use real butter rather than a spreadable butter blend or oil-based spread, which may contain more water and behave differently in the dough.
- Egg whites: Royal icing is made with egg whites that aren’t cooked in this recipe, so I recommend using pasteurized egg whites for the icing.
How to Bake Your Chocolate Christmas Cookies
It’s easy to bake chocolate Christmas cookies. Here are some tips for when it’s time to get them in the oven:
- For the best baking results, make sure to roll the dough to an even thickness of about ½ cm or ¼ inch, so the cookies bake evenly.
- Place the cookies on a baking sheet lined with parchment paper, leaving a little space between them, even though they won’t spread much during baking.
- Bake the cookies at 180°C / 350°F for 6–8 minutes, keeping a close eye on them toward the end. The cookies should feel firm and lightly crisp when done. Since the dark cocoa makes browning difficult to judge, rely on the baking time and texture rather than color alone.
- Let the cookies cool on the baking sheet briefly, then transfer them to a wire rack to cool completely before decorating. This helps them firm up and give you a stable surface for decorating.
Tips for Decorating Your Christmas Cookies
It’s easy and fun to decorate Christmas cookies! Here are some tips to get the best results:
- Let the cookies cool completely on a wire rack before decorating. Warm cookies will cause the icing to soften or run, while completely cooled cookies provide a good surface for crisp, defined designs.
- I recommend using royal icing, made with egg white and powdered sugar. Unlike a simple powdered sugar glaze, royal icing dries firm, helping your designs keep their shape once the icing has set.
- For the best control, transfer the icing to a piping bag fitted with a small round piping tip. I like using Wilton tip No. 1 for fine details and Wilton tip No. 2 for slightly thicker lines.
More Decorating Ideas
- Add a little food coloring to make red, green, or other colorful icing.
- Use different piping tips to create fine lines, dots, and decorative borders.
- You can add sprinkles or other decorations on the icing before it sets.
You don’t need to make every cookie perfect. Part of the fun is experimenting with different designs and seeing what everyone comes up with!
How to Store Chocolate Christmas Cookies
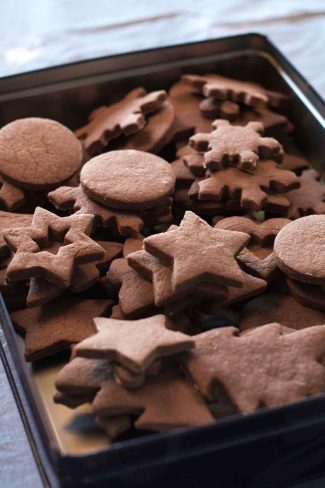
Once the icing has completely dried, store the cookies in an airtight container at room temperature. This helps keep the cookies crisp and protects the decorations.
Traditional cookie tins aren’t always completely airtight. If you’re using one, try placing a piece of parchment paper between the tin and its lid to help create a better seal.
For more Christmas baking inspiration, try my Danish Mini Cinnamon Rolls or Sweet Almond Crescent Rolls. Both are lovely options for a Christmas baking day.
Frequently Asked Questions
Do I need to chill chocolate sugar cookie dough before cutting out the shapes?
No. One of the best things about this recipe is that the dough doesn’t need to be chilled before baking. The cookies hold their shape well, so you can roll out the dough, cut out the cookies, and bake them straight away.Why is my chocolate cookie dough dry or crumbly?
This dough is naturally fairly dry, so don’t expect it to feel like a soft, sticky cookie dough. Measure the flour carefully and add it gradually. If the dough is difficult to bring together, check that you haven’t added too much flour while rolling it out.How thick should I roll out the dough?
Roll the dough to about ½ cm or ¼ inch thick. Try to keep the thickness even so the cookies bake at the same rate.Why are my cookies sticking to the counter?
Lightly flour your work surface and rolling pin, and lift the dough occasionally as you roll. You can also slide a flat spatula underneath the dough to loosen it before cutting out the shapes.Can I decorate these cookies with regular icing instead of royal icing?
Yes, but the result will be different. A simple powdered sugar glaze may stay softer and won’t hold detailed patterns as well. Royal icing is the better choice if you want crisp lines and decorations that dry firm.How do I know when the cookies are done baking?
Bake them at 180°C or 350°F for about 6–8 minutes. The cookies should feel firm and lightly crisp. Because they are chocolate cookies, their color makes it harder to judge doneness by browning alone, so keep an eye on the baking time.Can I make these chocolate Christmas cookies ahead of time?
Yes. You can bake the cookies ahead and decorate them once they have cooled. If you’re decorating with royal icing, allow enough time for the icing to dry completely before stacking or storing the cookies.Can I hang these cookies on the Christmas tree?
Yes. Make a small hole near the top of each cookie before baking, leaving enough room around it so the cookie doesn’t break. Once the cookies are baked and decorated, thread ribbon or string through the holes after the icing has fully dried.
More Christmas Cookies

Recipe
No-Bake Chocolate Sugar Cookies for Christmas
 Prep Time 40 minutes Cook Time 8 minutes Decorating time 30 minutes Time: 1 hour 18 minutes
 Yield: 30 cookies (approx.)
Ingredients
Chocolate Cookies:
- 230 g unsalted butter (softened)
- 200 g granulated sugar
- 1 eggs
- 400 g all-purpose flour
- 2 tsp vanilla
- 2 tsp baking powder
- 60 g unsweetened cocoa powder (preferably Dutch-process)
Royal Icing:
- pasteurized egg white
- powdered sugar
Instructions
- Add the softened butter and sugar to a large bowl or the bowl of a stand mixer, and beat with a hand mixer or stand mixer until creamy and light. Add the egg and mix briefly, just until combined.230 g unsalted butter, 200 g granulated sugar, 1 eggs
- In a separate bowl, whisk together the all-purpose flour, vanilla, baking powder, and cocoa powder until fully combined. Add the all-purpose flour mixture to the wet dough a little at a time, mixing as you go. The dough will be fairly dry.400 g all-purpose flour, 2 tsp vanilla, 2 tsp baking powder, 60 g unsweetened cocoa powder (preferably Dutch-process)
- Divide the dough into 4-6 portions and roll out each one on a lightly floured surface. The dough should be about 1/2 cm thick. Dust with plenty of all-purpose flour and lift the dough occasionally as you roll to make sure it doesn't stick to the counter. You can also run a flat spatula underneath the dough after rolling to loosen it.
- Cut out cookies using cookie cutters. Place the cut-out cookies on baking sheets lined with parchment paper. They can be placed close together, since the cookies won't spread.
- Bake the cookies at 180°C for 6-8 minutes, until firm and lightly crisp. Let them cool completely on a wire rack.
- Make the icing by stirring the powdered sugar into the egg white. Adjust the consistency so it's pipeable - the icing is ready when a peak drizzled on top takes 5-10 seconds to melt back into the rest of the icing.pasteurized egg white, powdered sugar
- Transfer the icing to a piping bag fitted with a tip and decorate the cookies.
